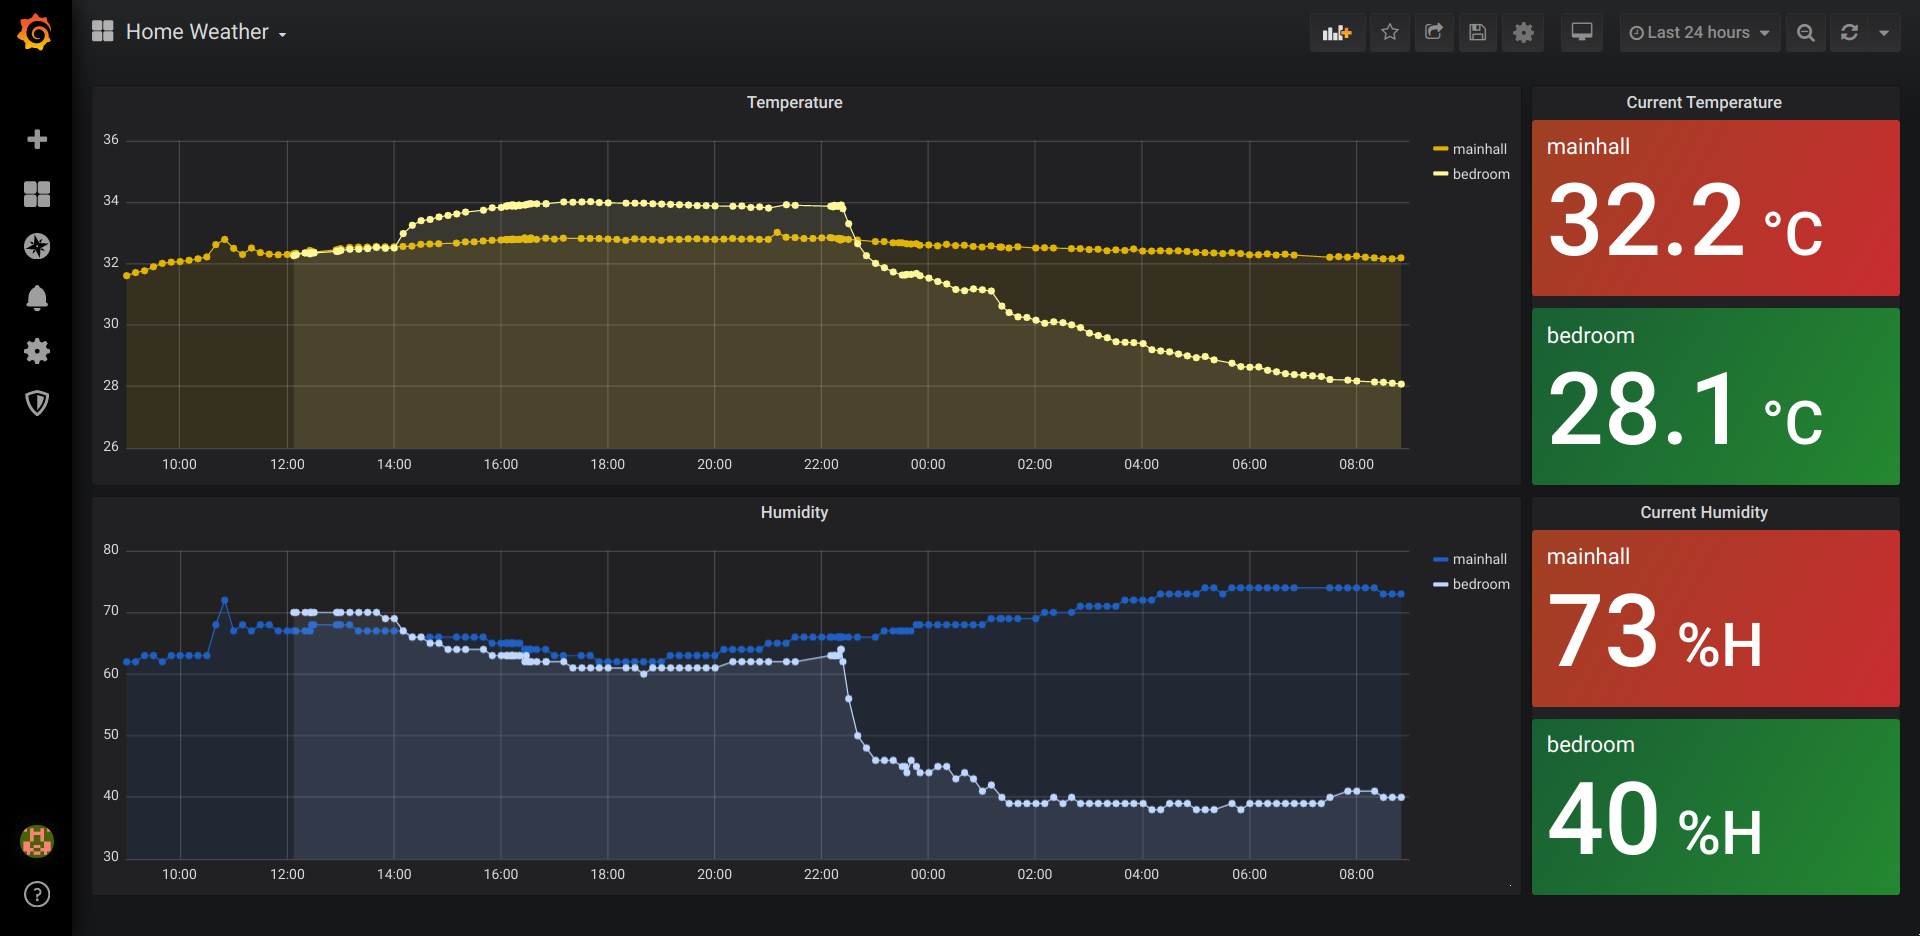
Project: Your Home in the Cloud - Weather Monitoring with Azure
- Part 1: Requirements and Data Architecture
- Part 2: Implementation (We are here)
- Reference: GitHub Repo
Set up services for PATH 2
Note: I will use a Raspberry Pi Azure IoT Online Simulator to simulate HOME for demonstration.
1. Create and send test data to Azure IoT Hub
-
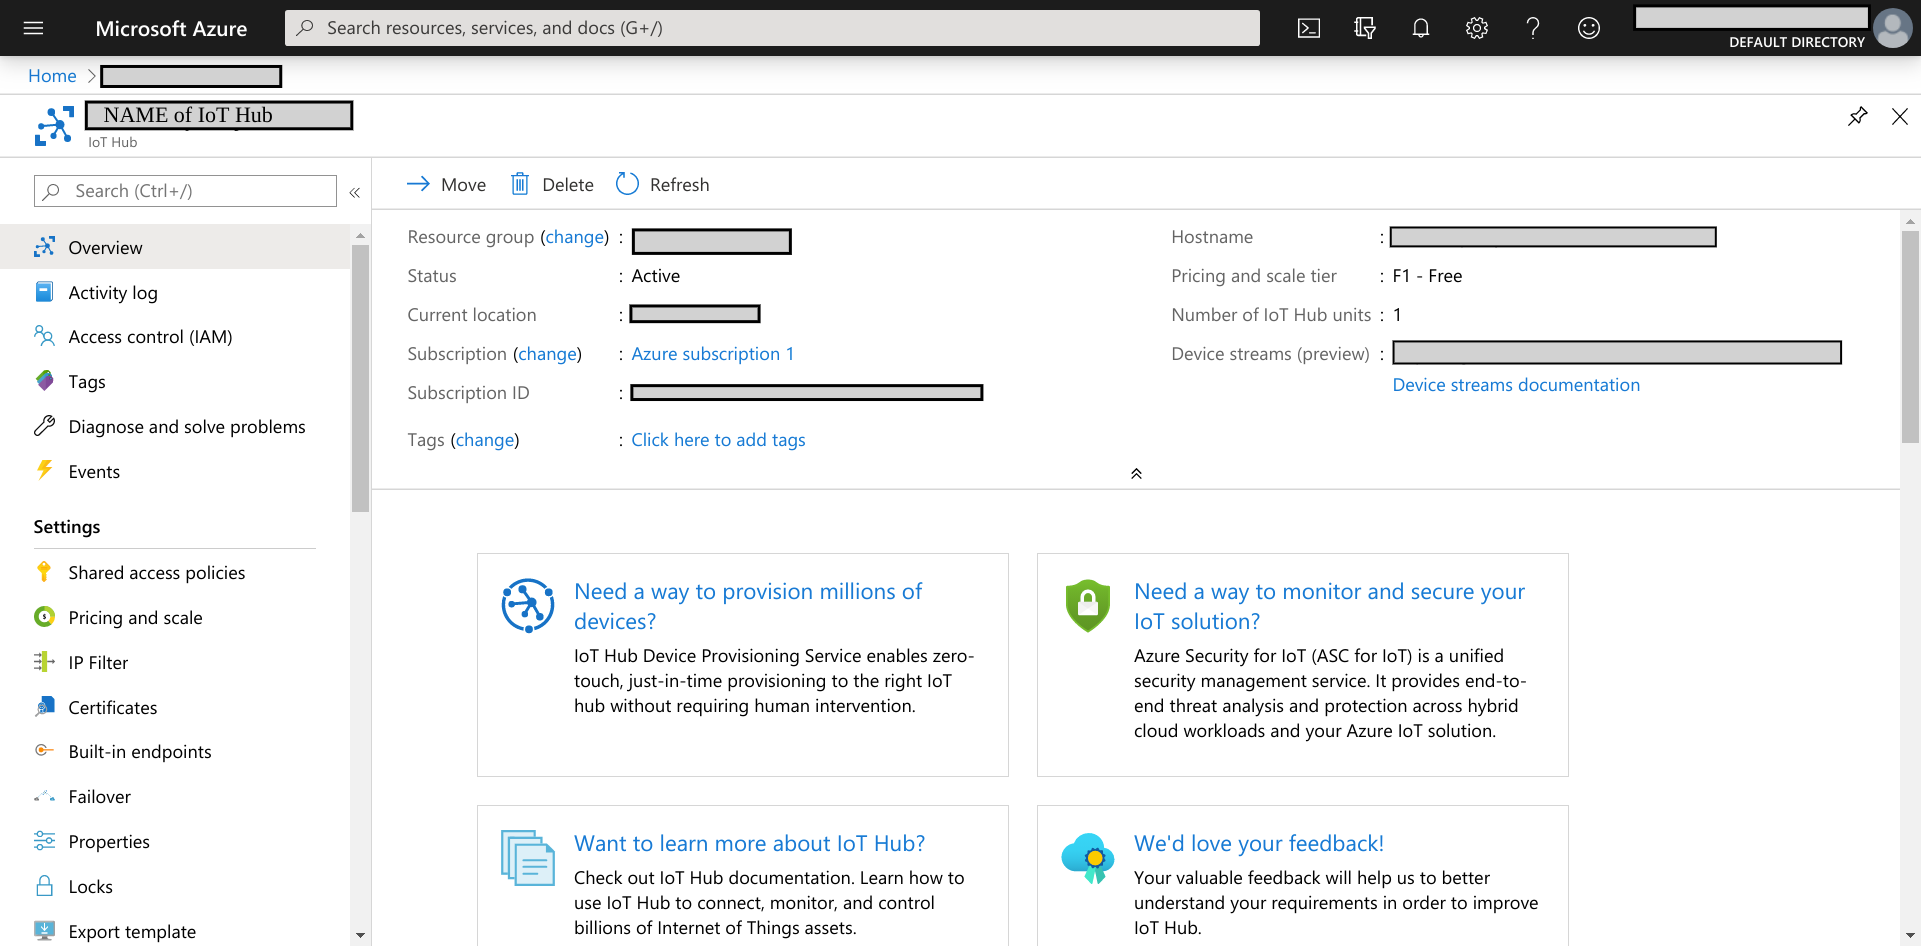
Follow instructions from Microsoft to create an IoT Hub resource – https://docs.microsoft.com/en-us/azure/iot-hub/iot-hub-create-through-portal.
Your IoT Hub should look similar to this.
-
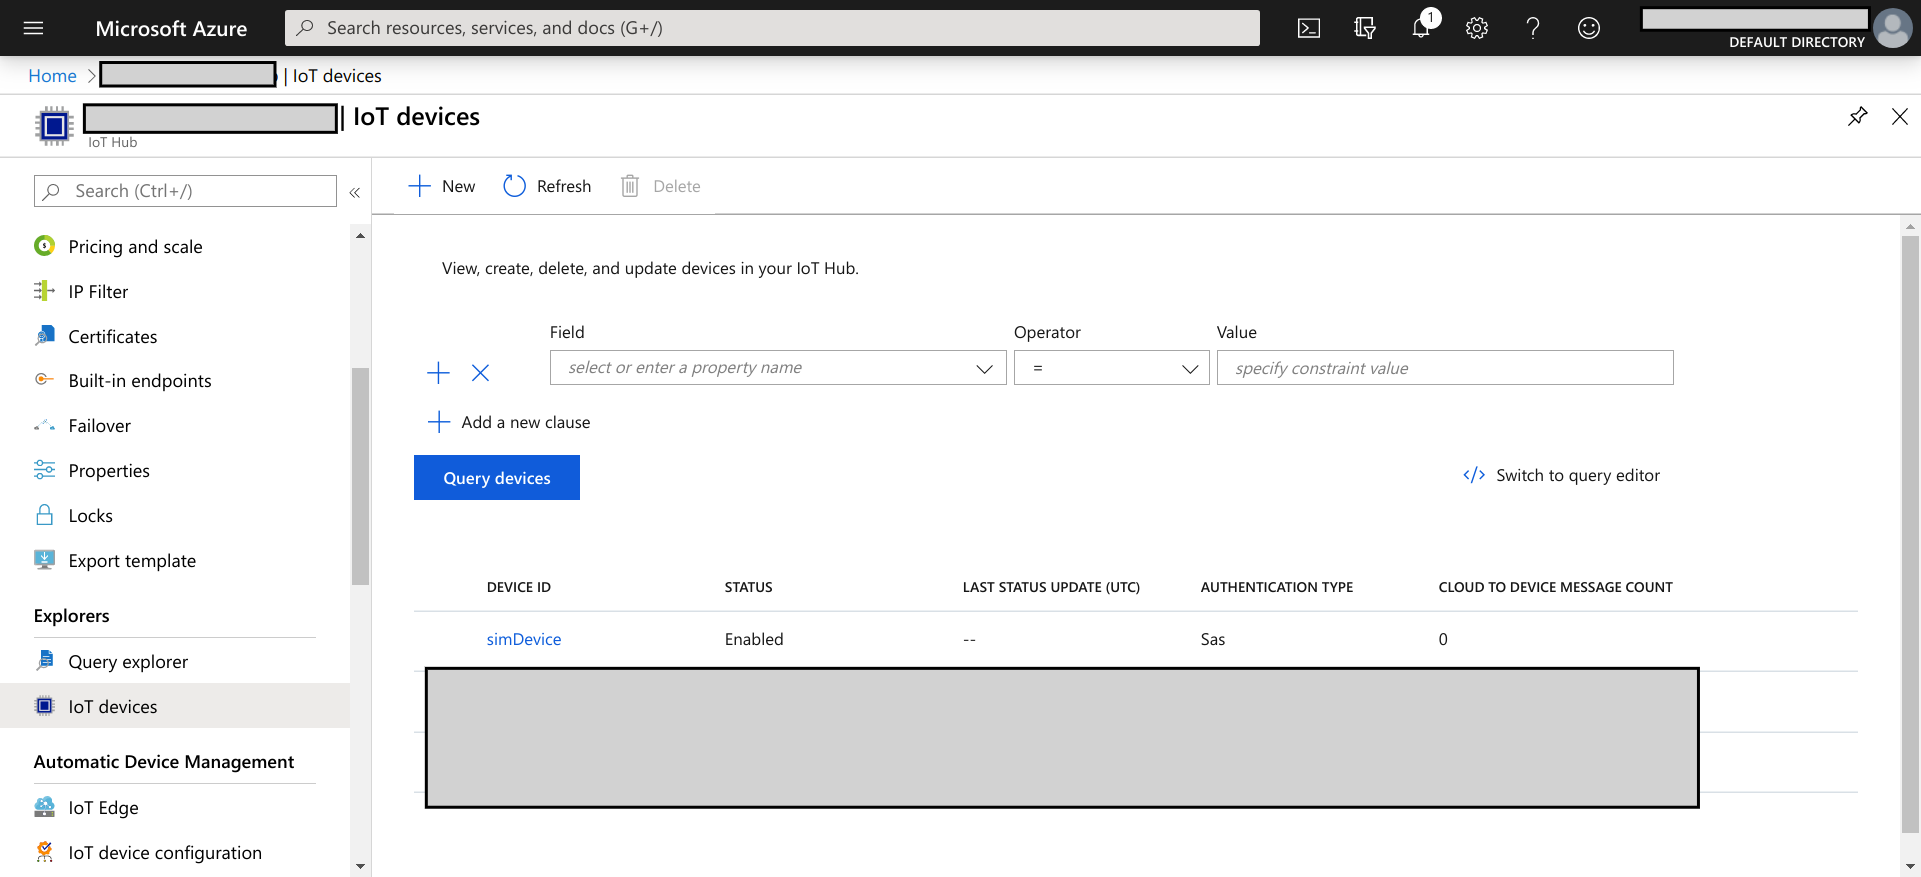
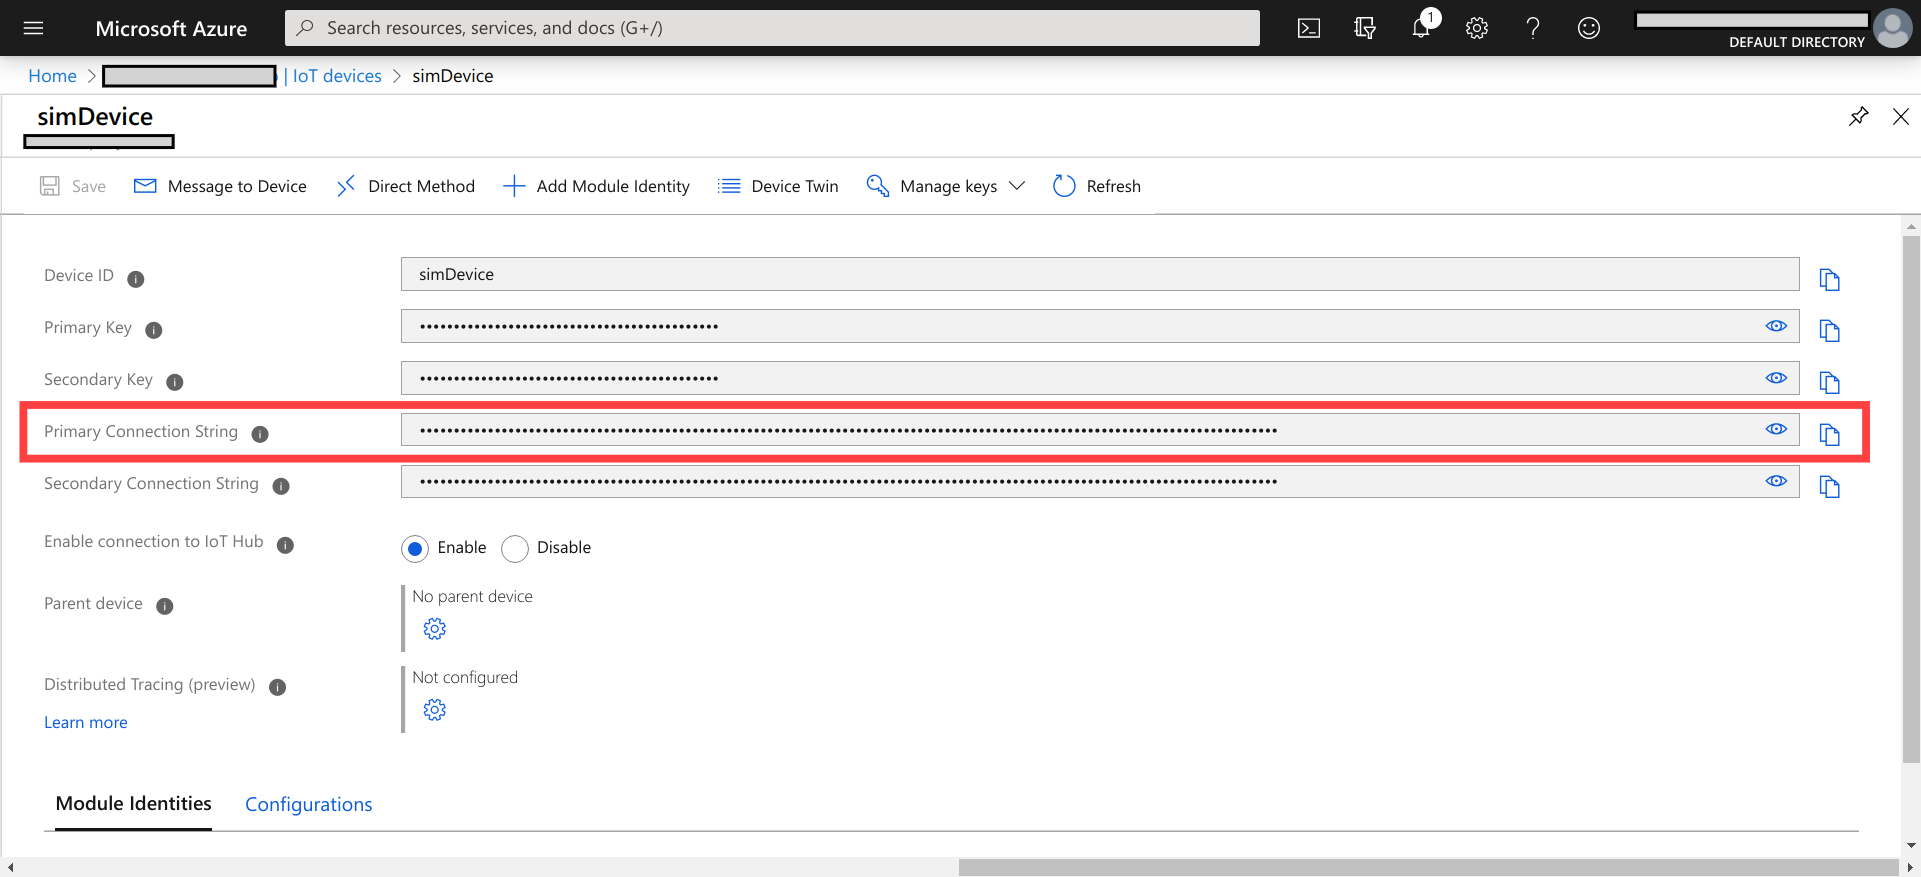
Add device to your IoT Hub. The device connection string is used to identify where the stream of data comes from.
-
Place the obtained device connection string in the placeholder in a Raspberry Pi Azure IoT Online Simulator then run the simulator.
-
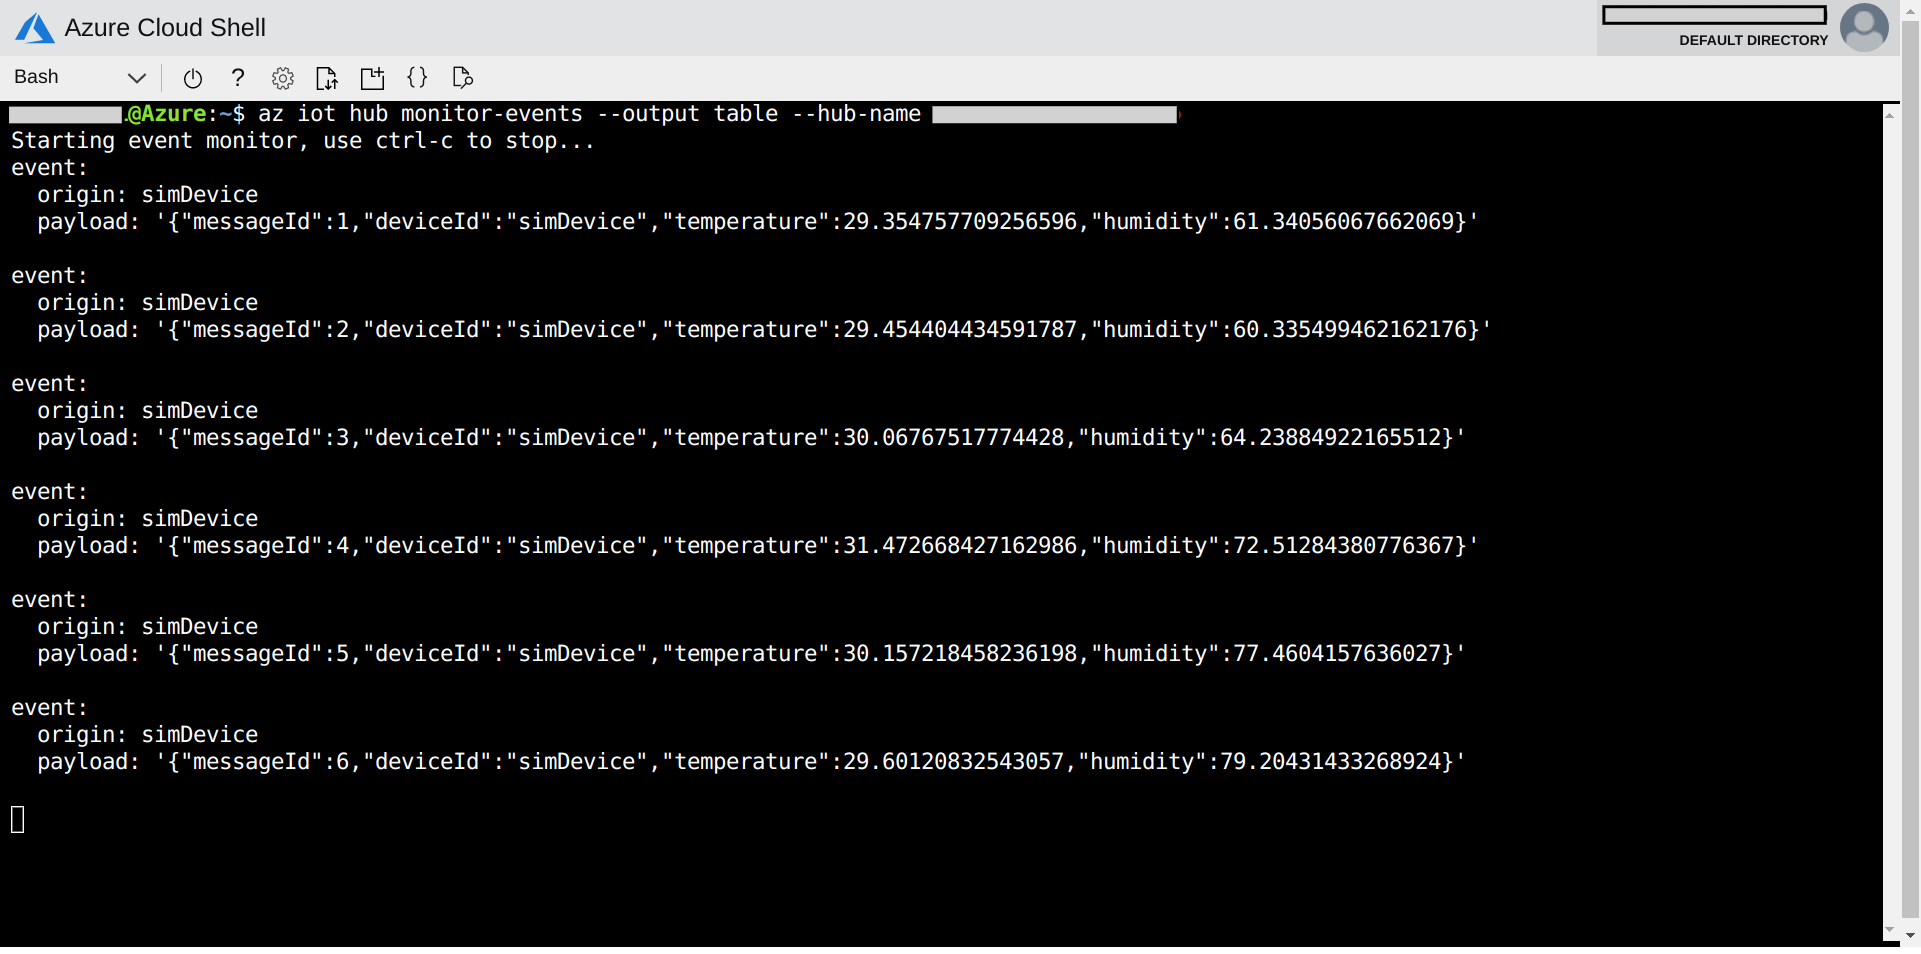
Check that our IoT Hub has received the data.
You can use Azure cloud shell to do a quick check by clicking

in the top bar of your Azure Portal page.
Then type the following command.
az iot hub monitor-events --output table --hub-name {YourIoTHubName}You should see data coming in when your IoT Online Simulator is running.
-
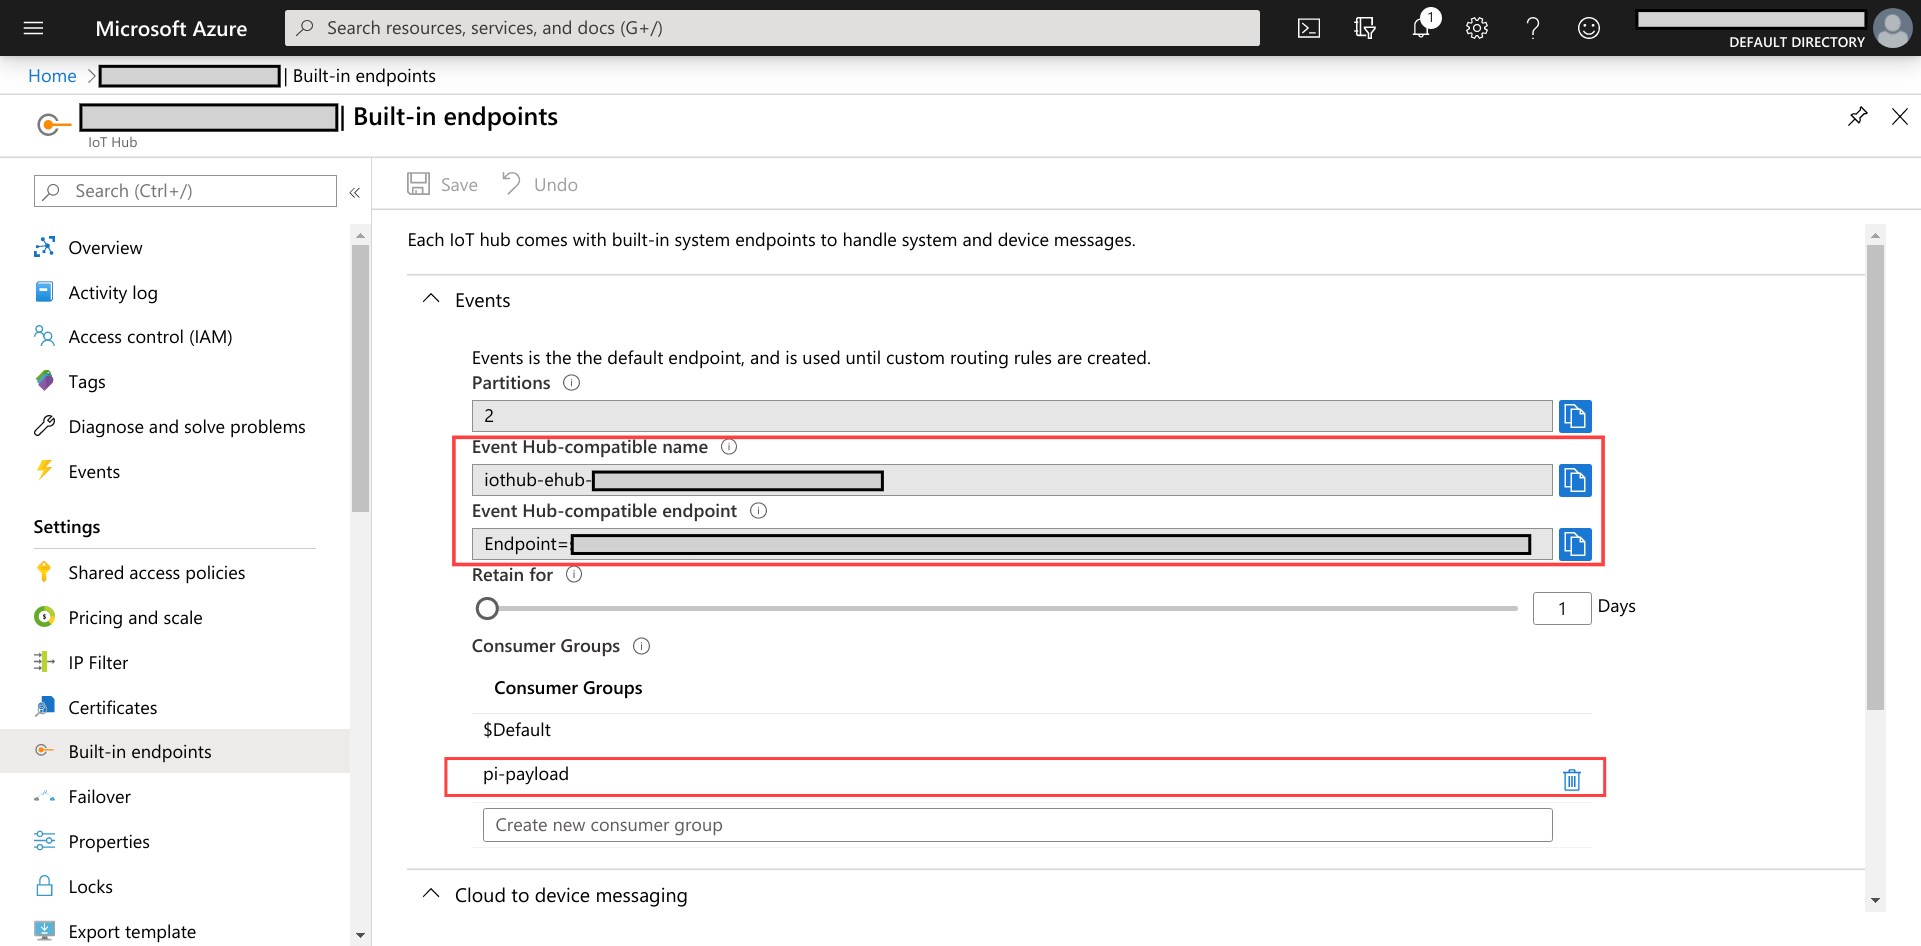
Find IoT Hub Endpoint and create a consumer group to connect with Azure Functions
2. Create Azure SQL Database
-
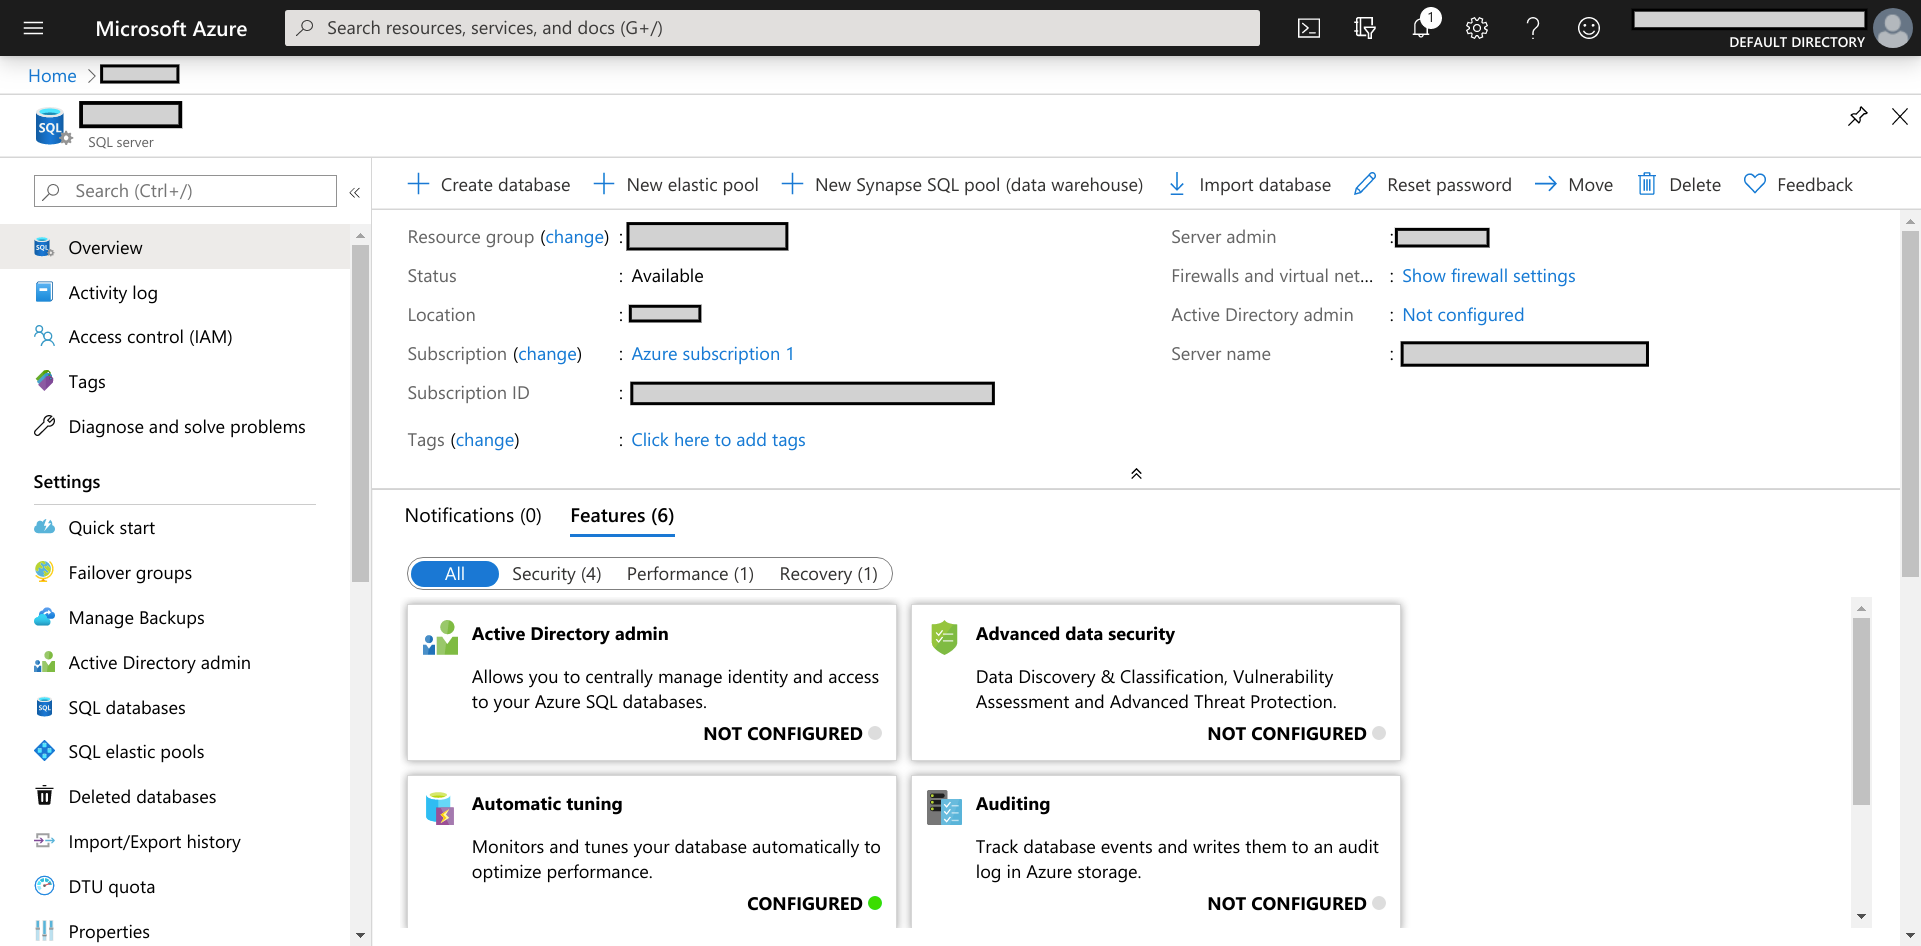
Follow instructions from Microsoft – https://docs.microsoft.com/en-us/azure/sql-database/sql-database-single-database-get-started?tabs=azure-portal.
Doing so you will get a SQL Server with a SQL Database you specify in creation steps. Do not forget to take note of username and password of your SQL Server.
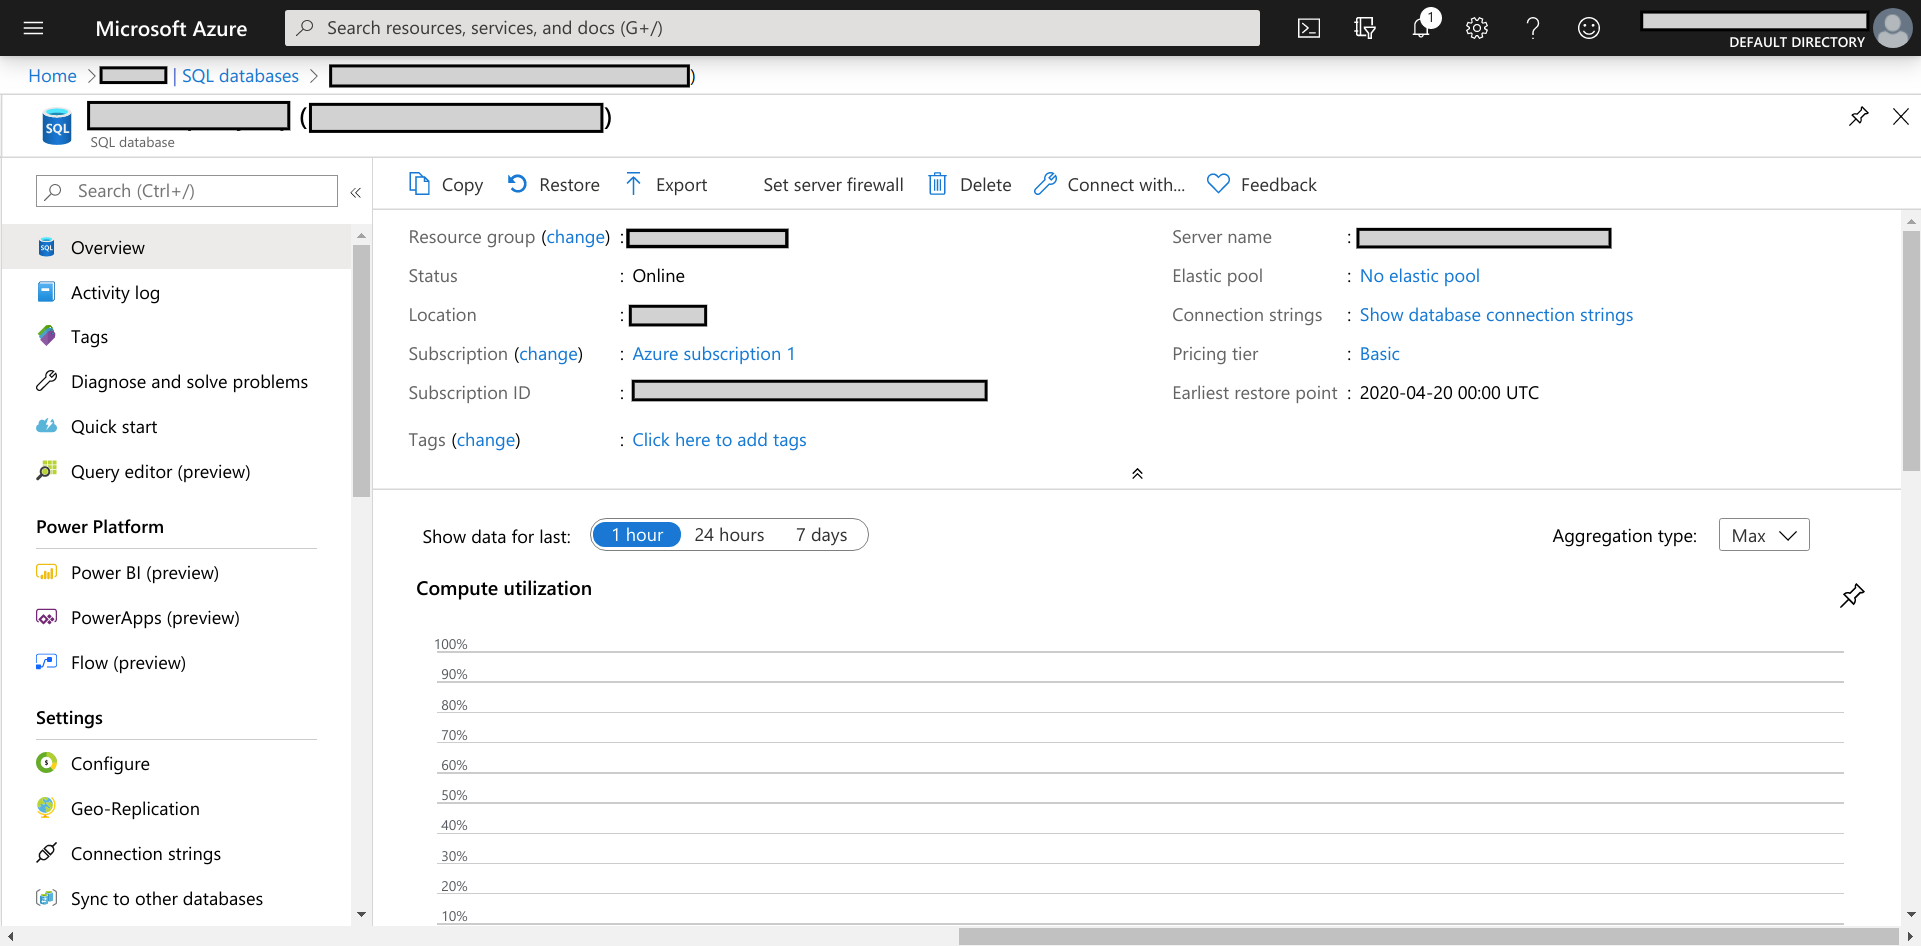
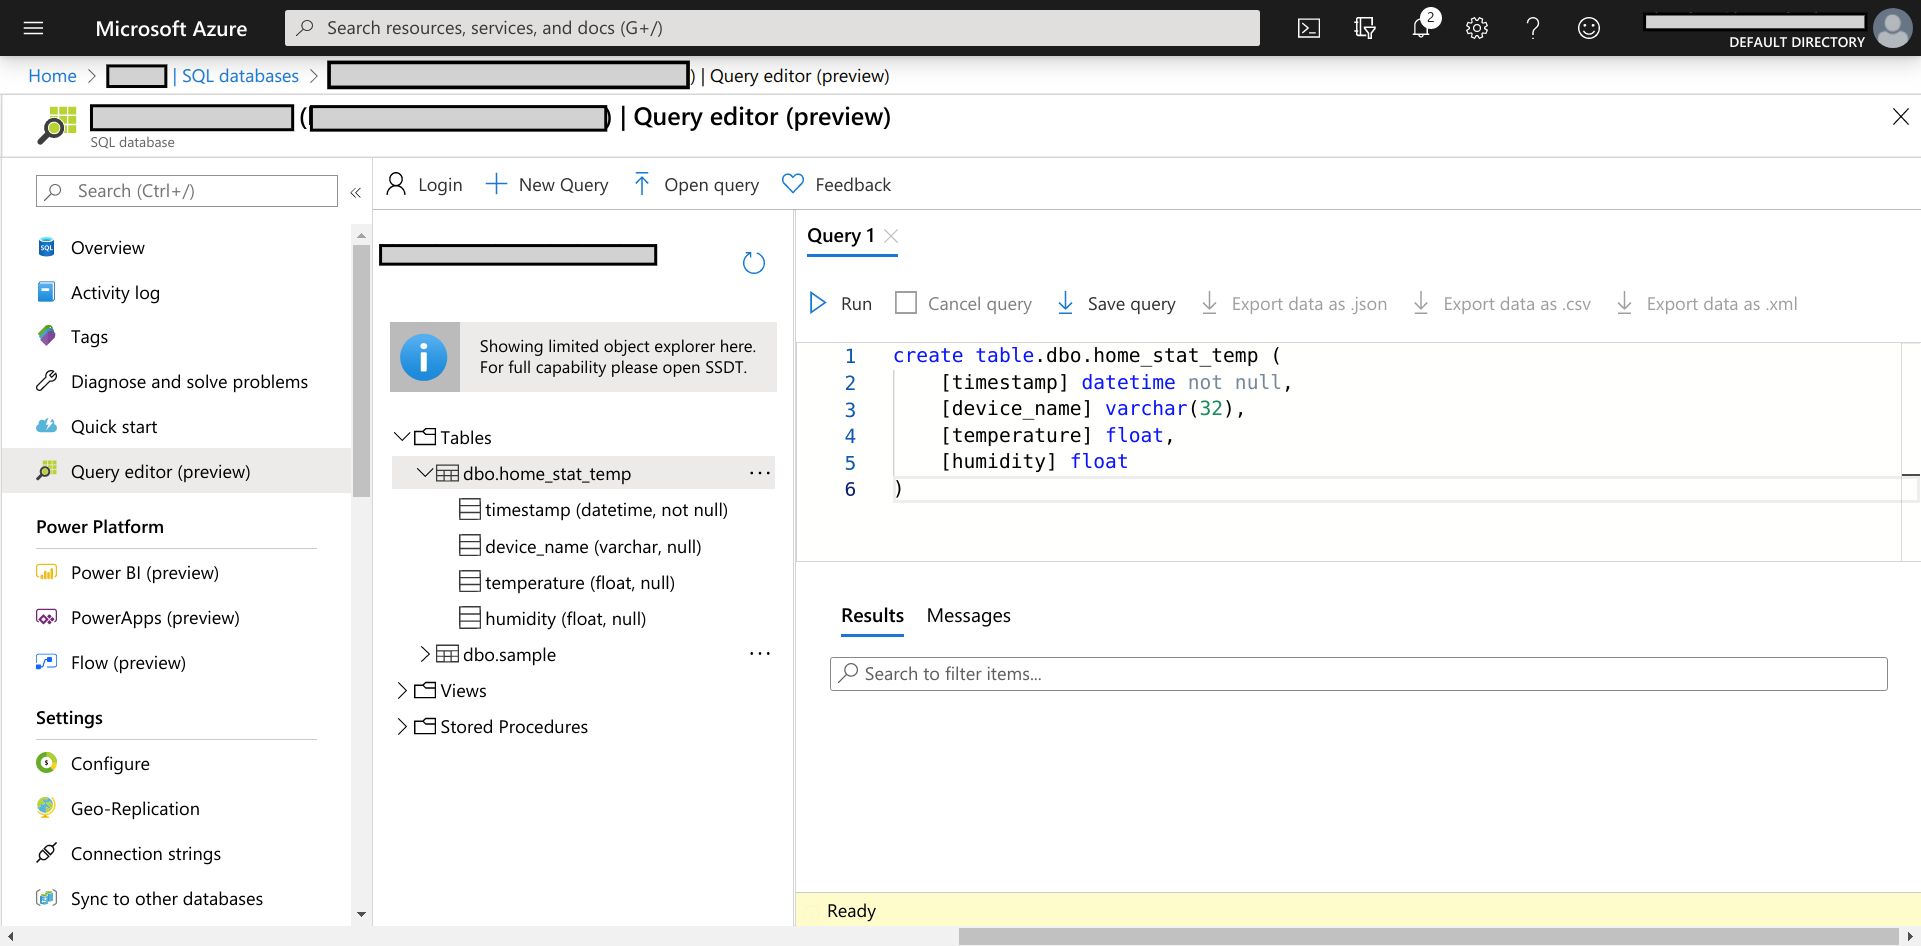
- Go to your database and create a table with a correct schema for your data using Query Editor. Refresh the database and verify the table.
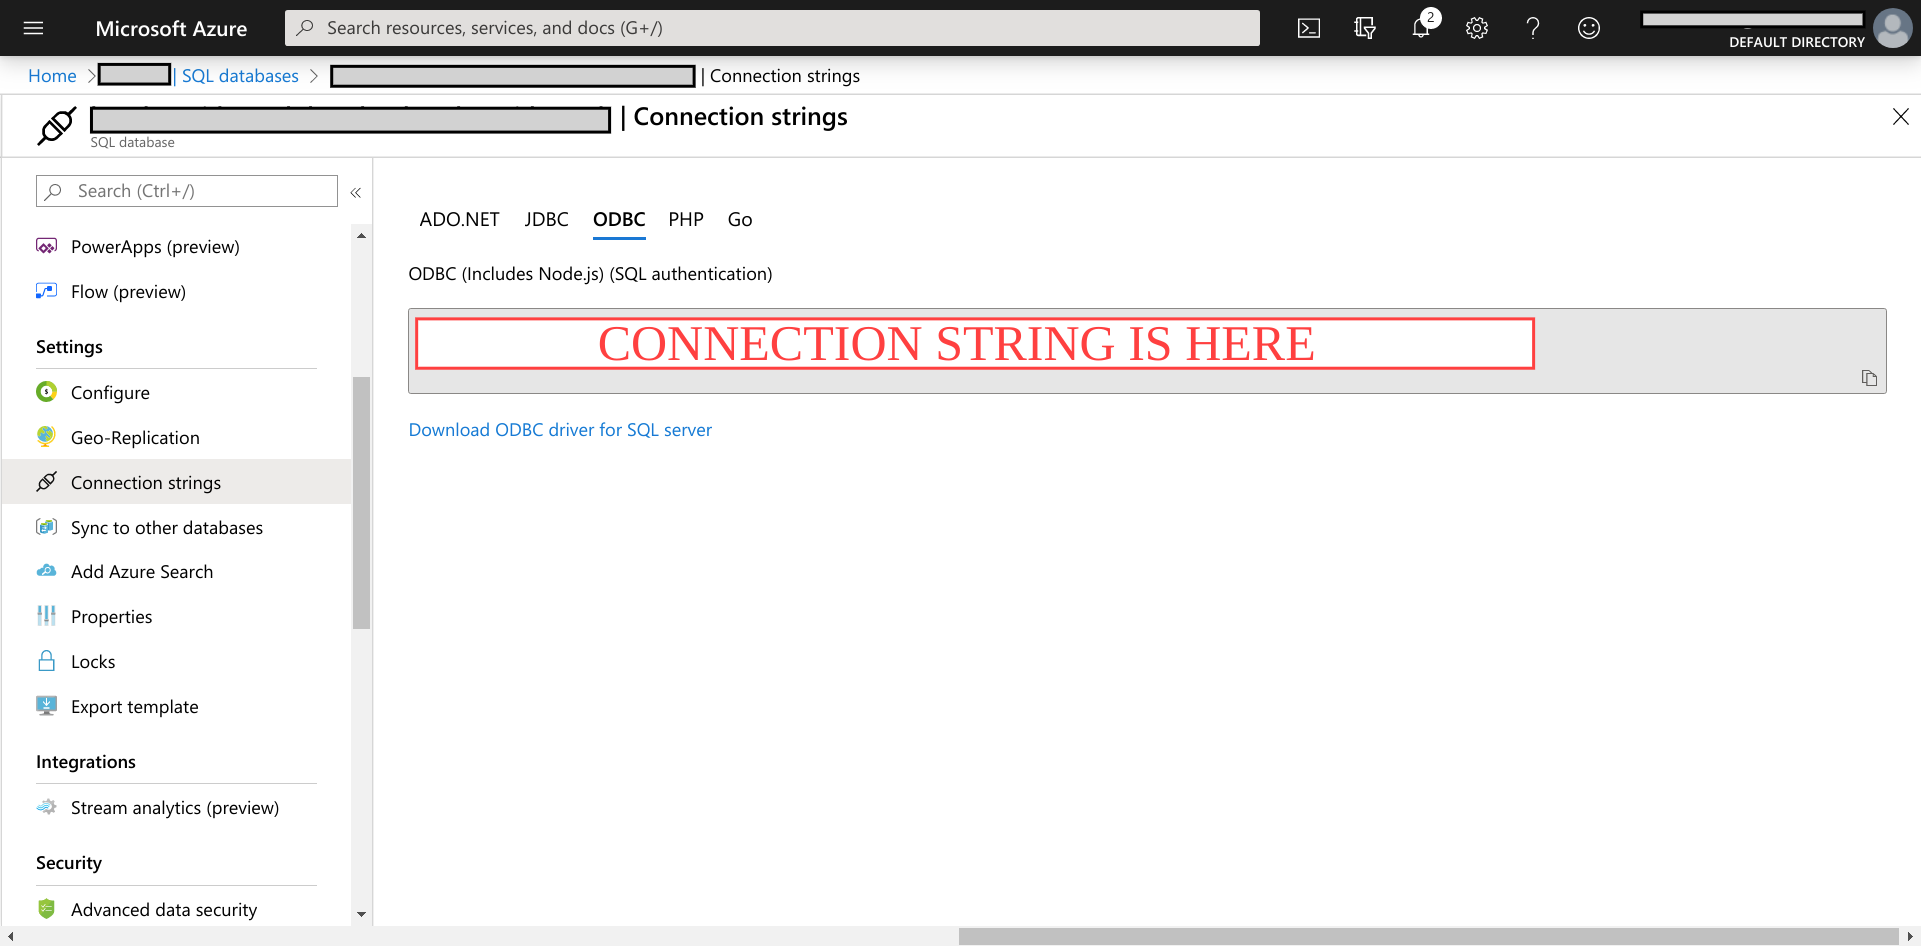
- Take note of a connection string for your database.
3. Deploy Azure Functions
-
Set up your environment. At least make sure that your environment can complete this tutorial – https://docs.microsoft.com/en-us/azure/developer/python/tutorial-vs-code-serverless-python-01.
-
Create a new Azure Functions that accept IoT Hub Trigger – https://docs.microsoft.com/en-us/azure/azure-functions/functions-bindings-event-iot-trigger?tabs=python.
-
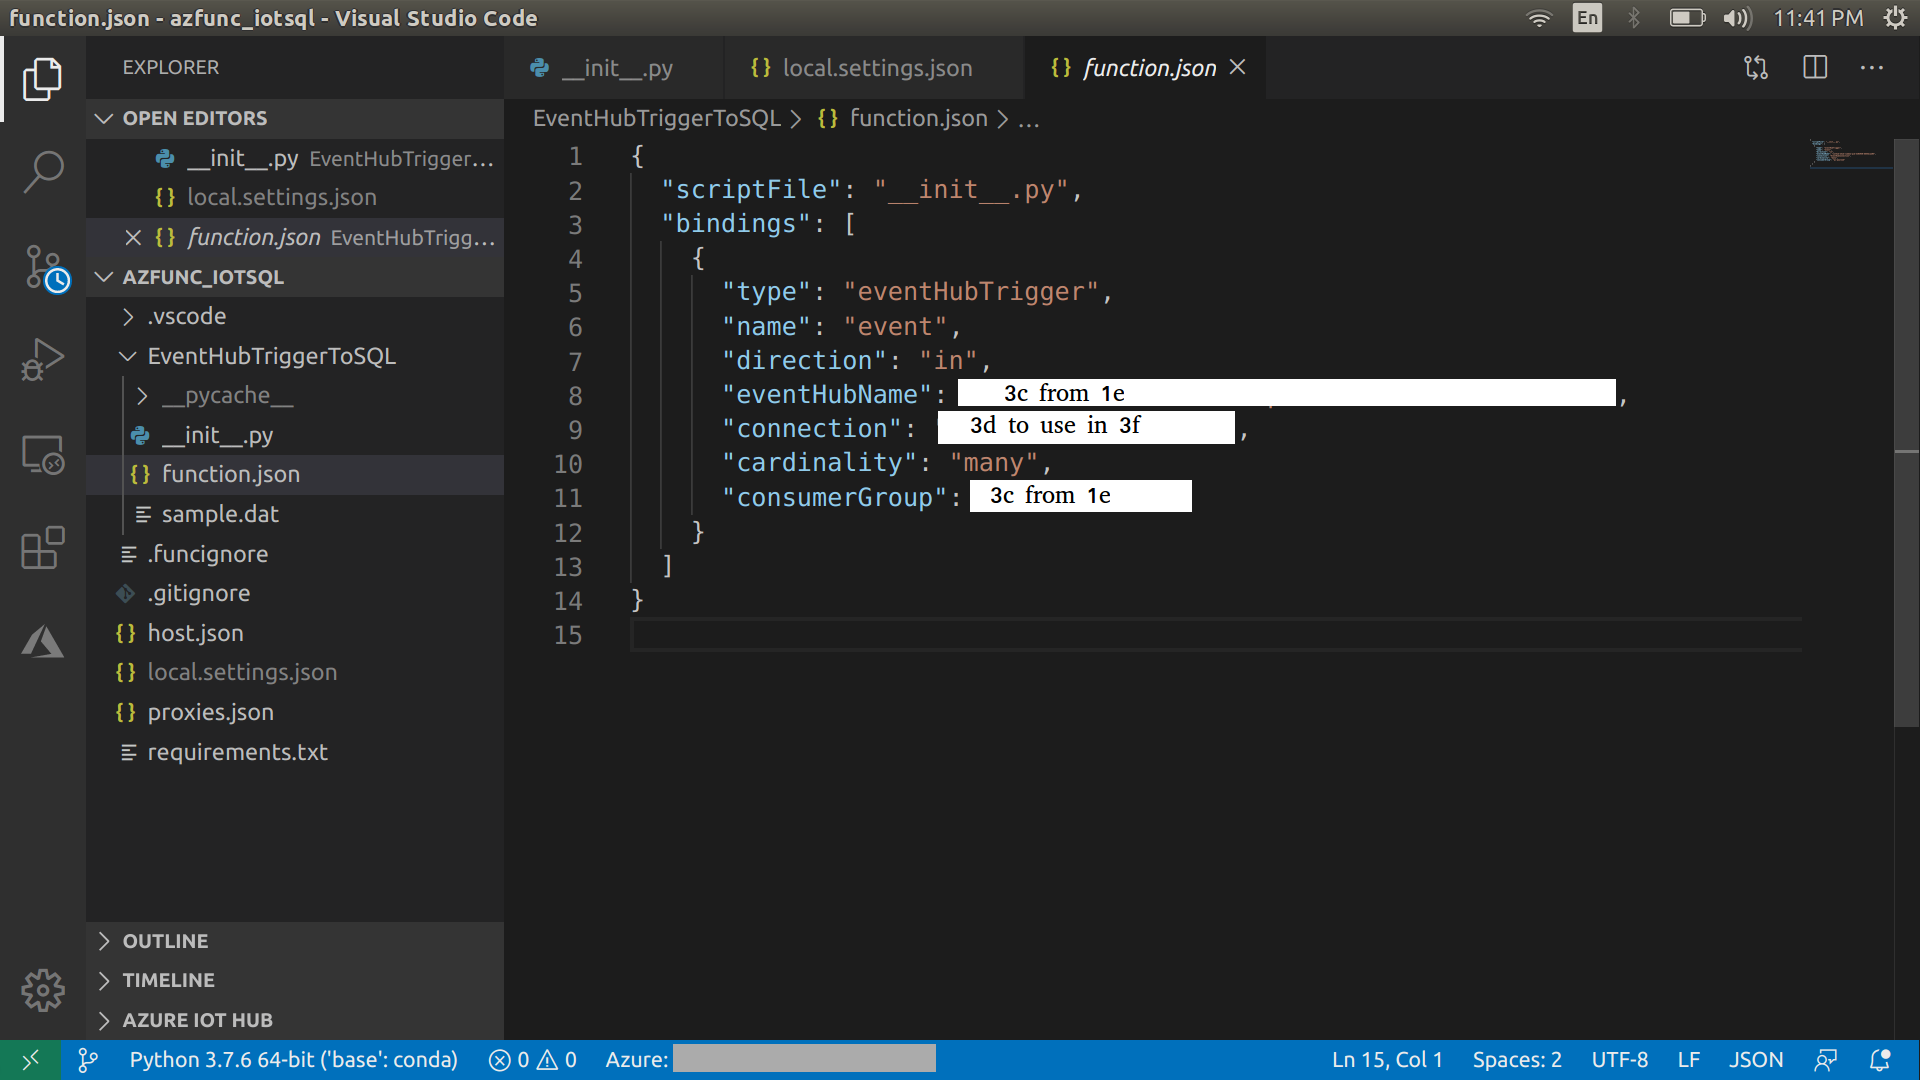
Add IoT Hub’s name and consumer group from (1e) to function.json in Azure Functions’ package.
-
Define the connection name you want to refer to IoT Hub endpoint in Azure Functions’ configuration after deployment.
-
Prepare
__init__.pyfor data processing and deploy Azure Functions.
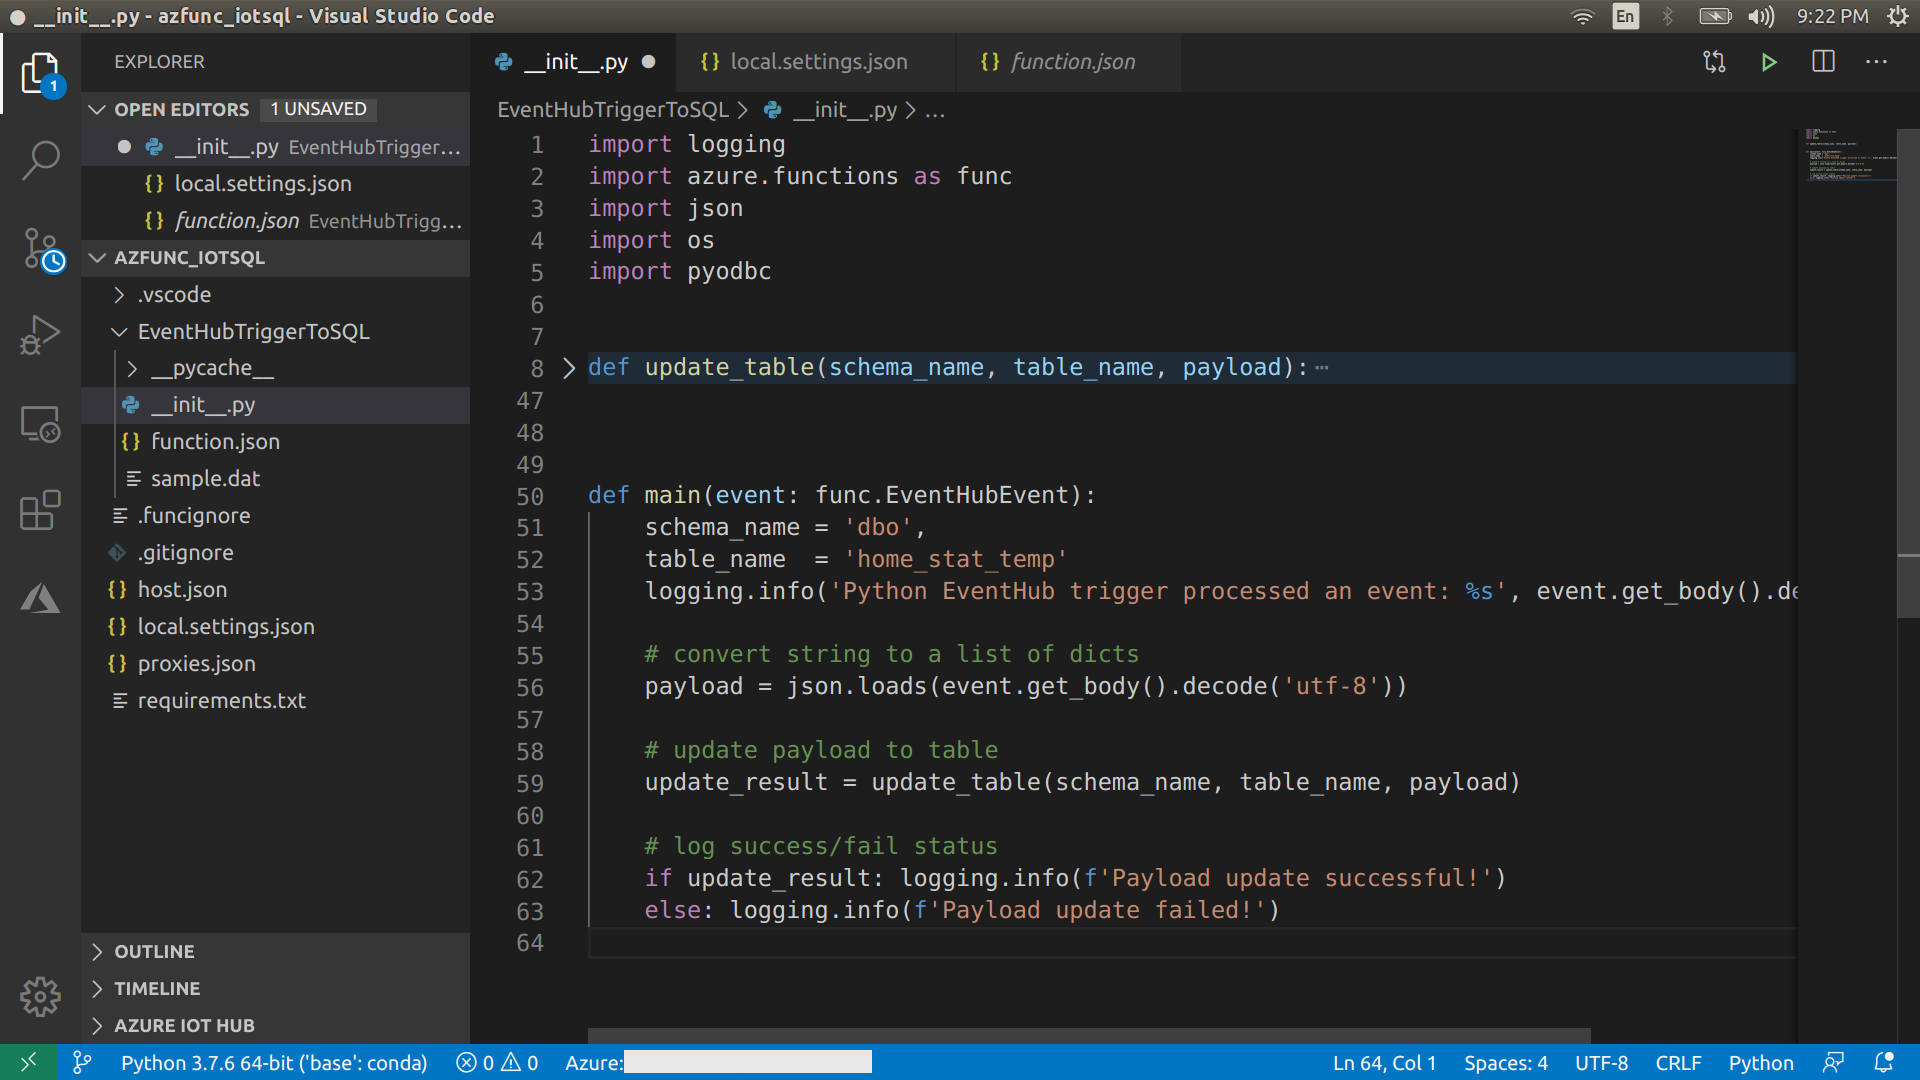
My __init__.py is along this line.
import logging
import azure.functions as func
import json
import os
import pyodbc


def update_table(schema_name, table_name, payload):
    ## Get connection string
    # from Azure Functions' configuration
    conn_str = os.environ["SQLCONNSTR_SQLConnectionString"]

    # initilize connection
    cnxn   = pyodbc.connect(conn_str)
    cursor = cnxn.cursor()

    # update payload
    timestamp   = payload['timestamp']
    device_name = payload['device_name']
    temperature = payload['temperature']
    humidity    = payload['humidity']

    # stage part to the table
    sql_command = f"""
    insert into {schema_name}.{table_name}(timestamp, device_name, temperature, humidity)
    values ("{timestamp}", "{device_name}", {temperature}, {humidity})
    ;
    """
    cursor.execute(sql_command)
    logging.info(f'Update {index}/{len(payload)} of payload')

    # commit when all updates are staged
    cnxn.commit()

    return True


def main(event: func.EventHubEvent):
    schema_name = 'dbo',
    table_name  = 'home_stat_temp'
    logging.info('Python EventHub trigger processed an event: %s', event.get_body().decode('utf-8'))

    # convert string to a list of dicts
    payload = json.loads(event.get_body().decode('utf-8'))

    # update payload to table
    update_result = update_table(schema_name, table_name, payload)

    # log success/fail status
    if update_result: logging.info(f'Payload update successful!')
    else: logging.info(f'Payload update failed!')
-
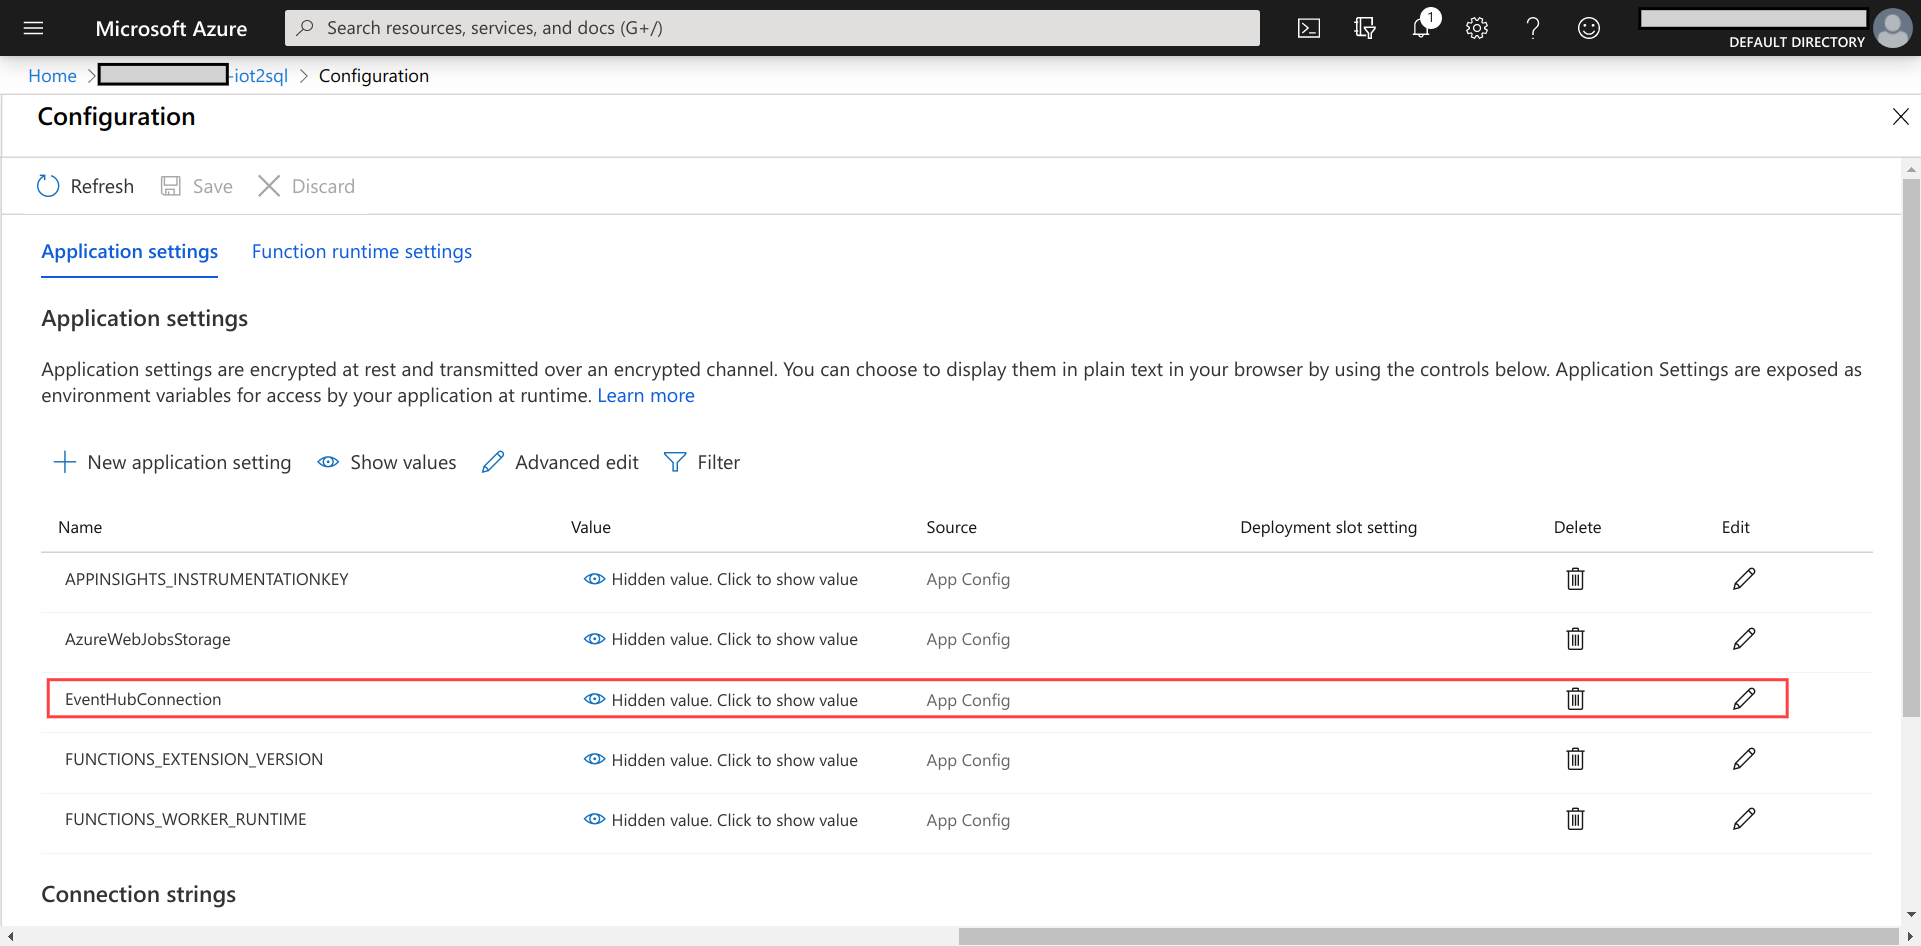
Add IoT Hub endpoint from (1e) with its name as specified in (3d) to Azure Functions’ configuration.
-
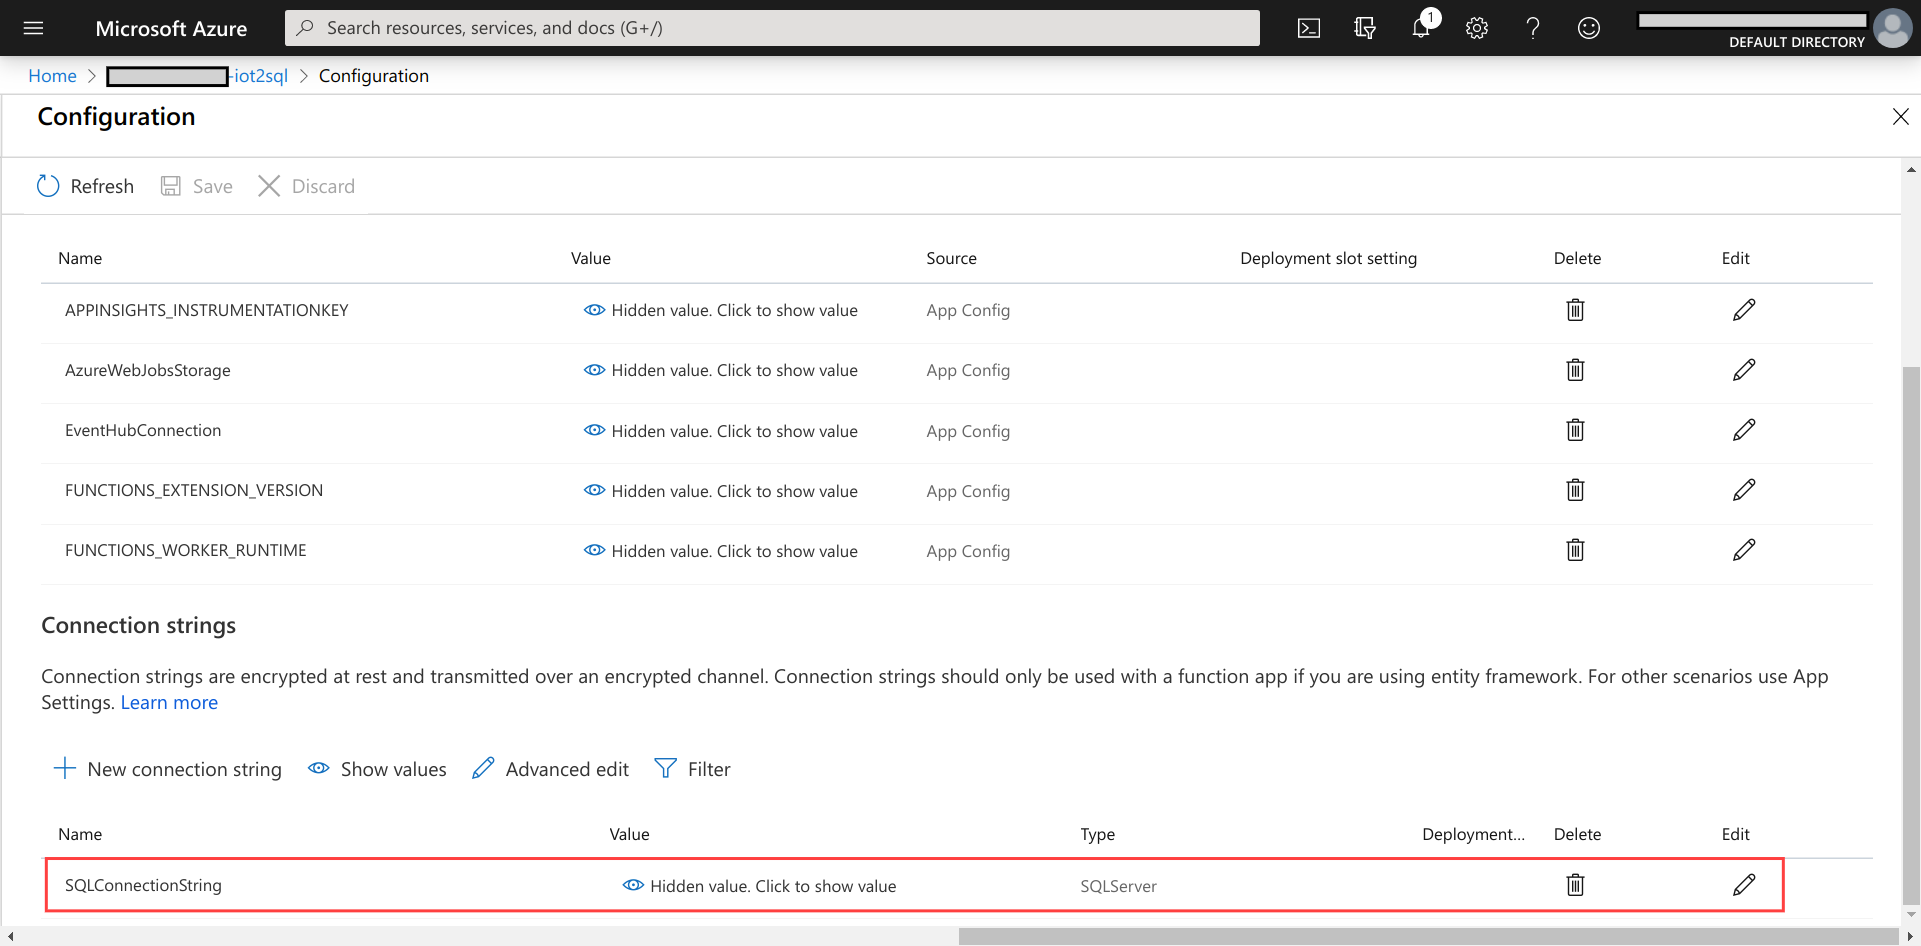
Add SQL database connection string from (2c) to Azure Functions’ configuration.
-
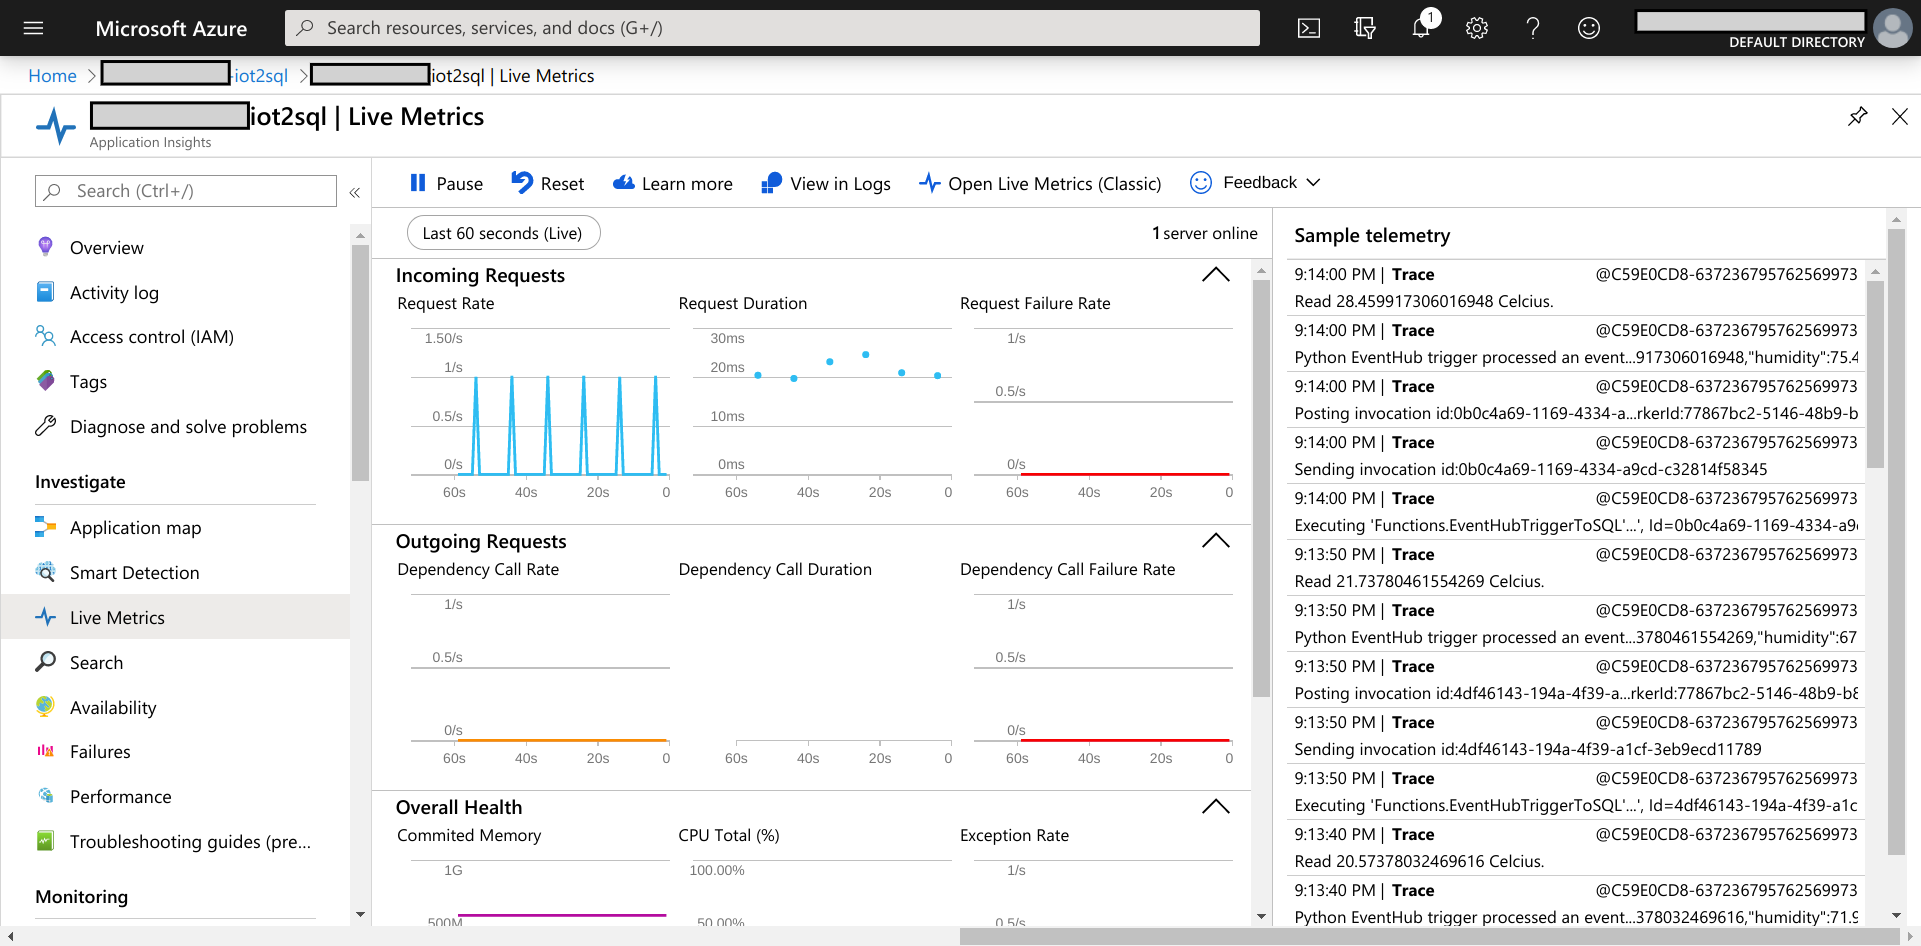
Make sure your Azure Functions is running. Then run a Raspberry Pi Azure IoT Online Simulator and observe incoming data in Live Metrics. The simulator was set to send a message every 10 s in this example.
-
Verify that data is appended to the target table in the SQL database.
4. Set up Grafana dashboard on your machine
-
Install Grafana. Depending on the version you would like to have. Here are instructions for the Open Source version (aka free version) – https://grafana.com/docs/grafana/latest/installation/.
-
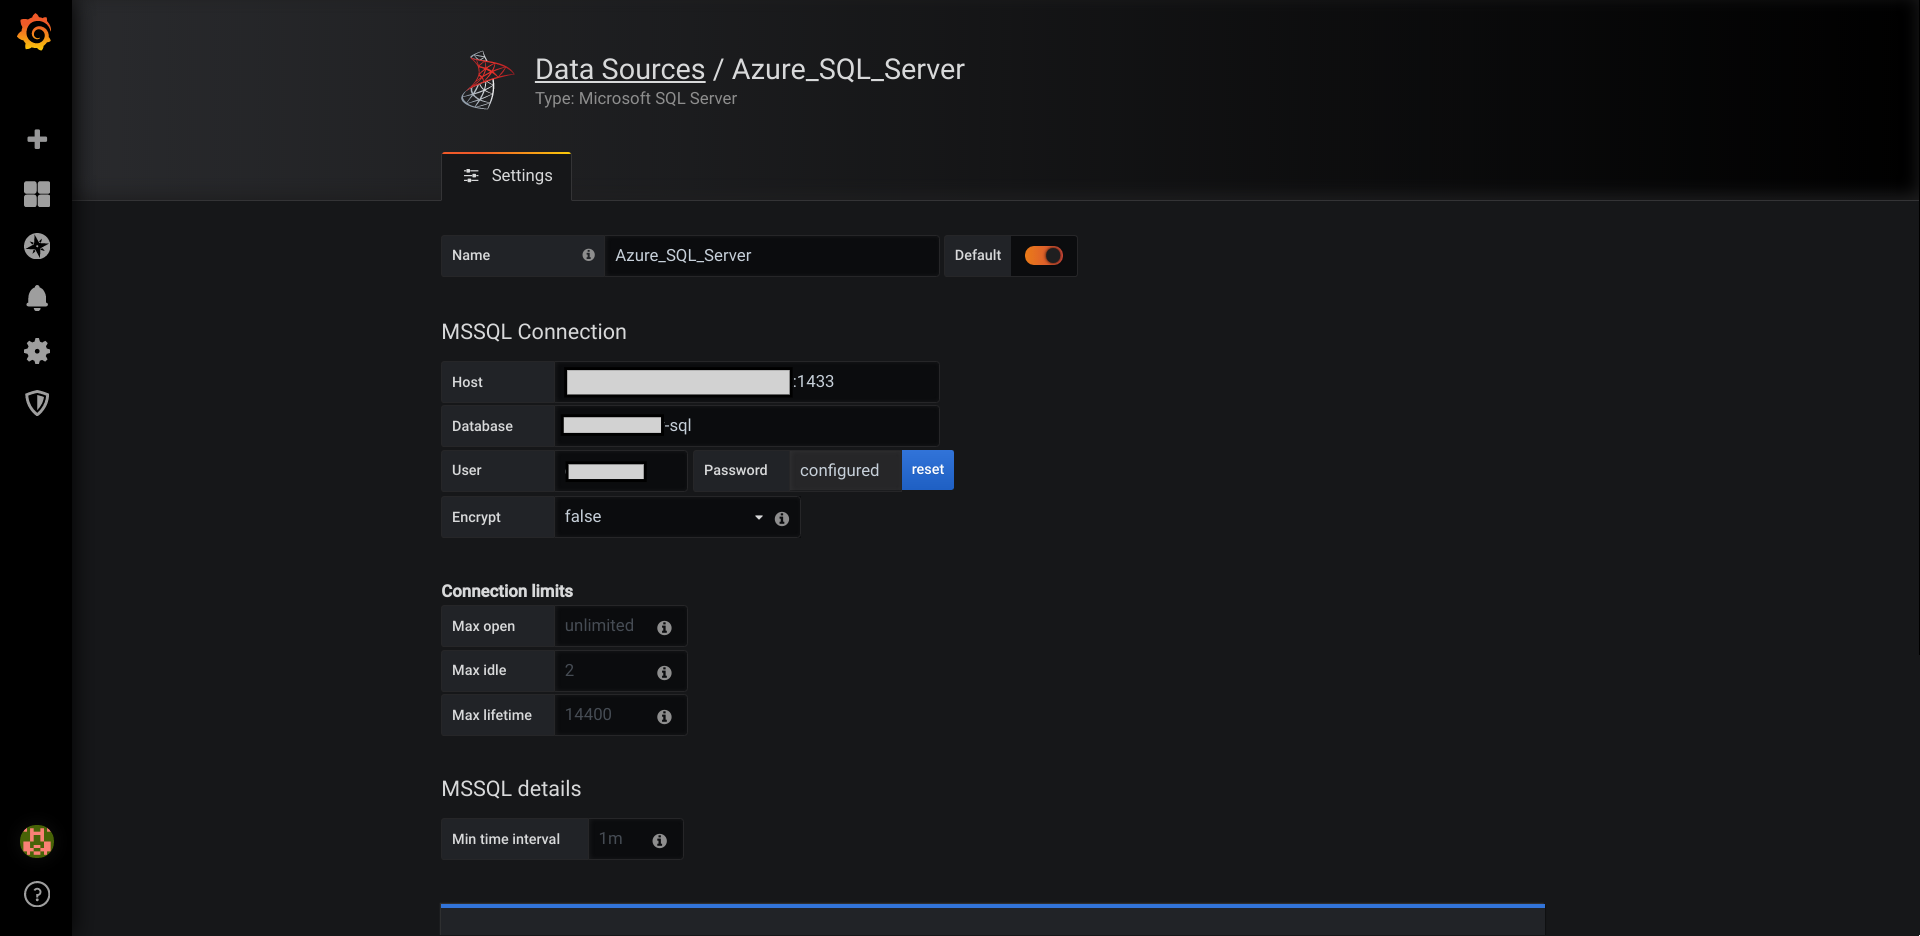
Start your Grafana Server and add your Azure SQL Server (2a) as a data source. https://grafana.com/docs/grafana/latest/features/datasources/mssql/.
-
Verify your connection and start building your dashboard.
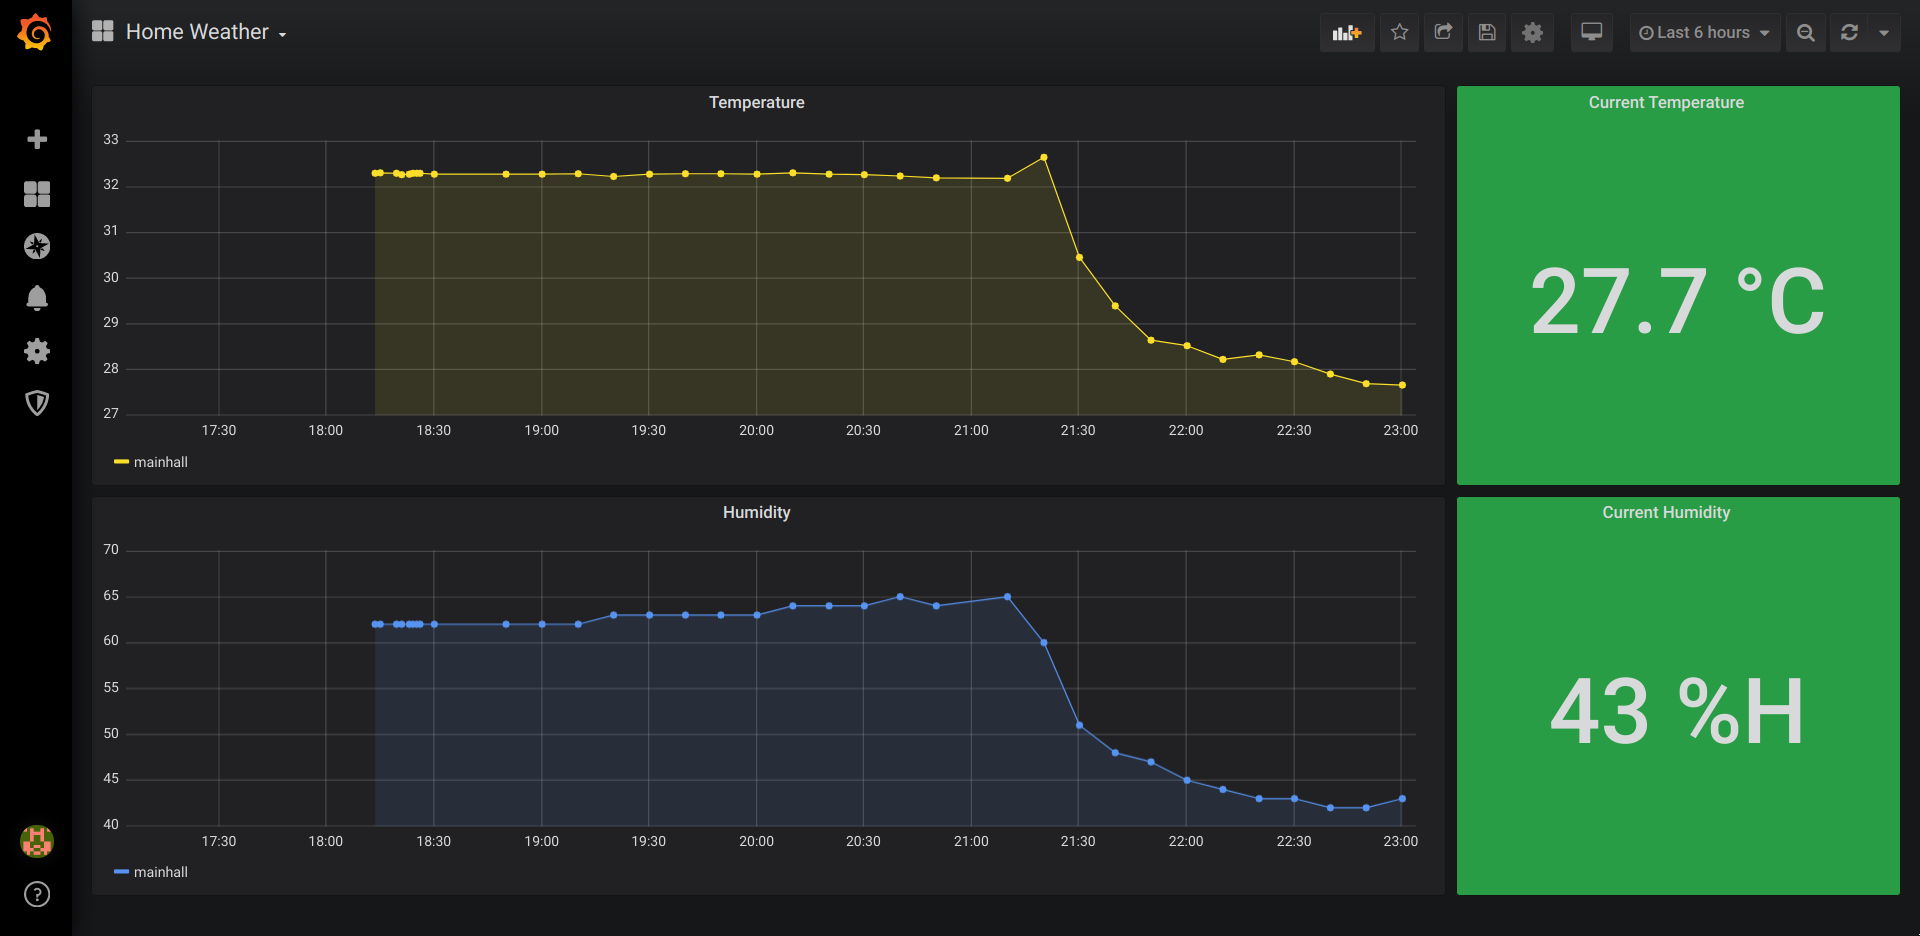
5. Build your own weather station
When all pieces are available. You can send data from actual sensors.
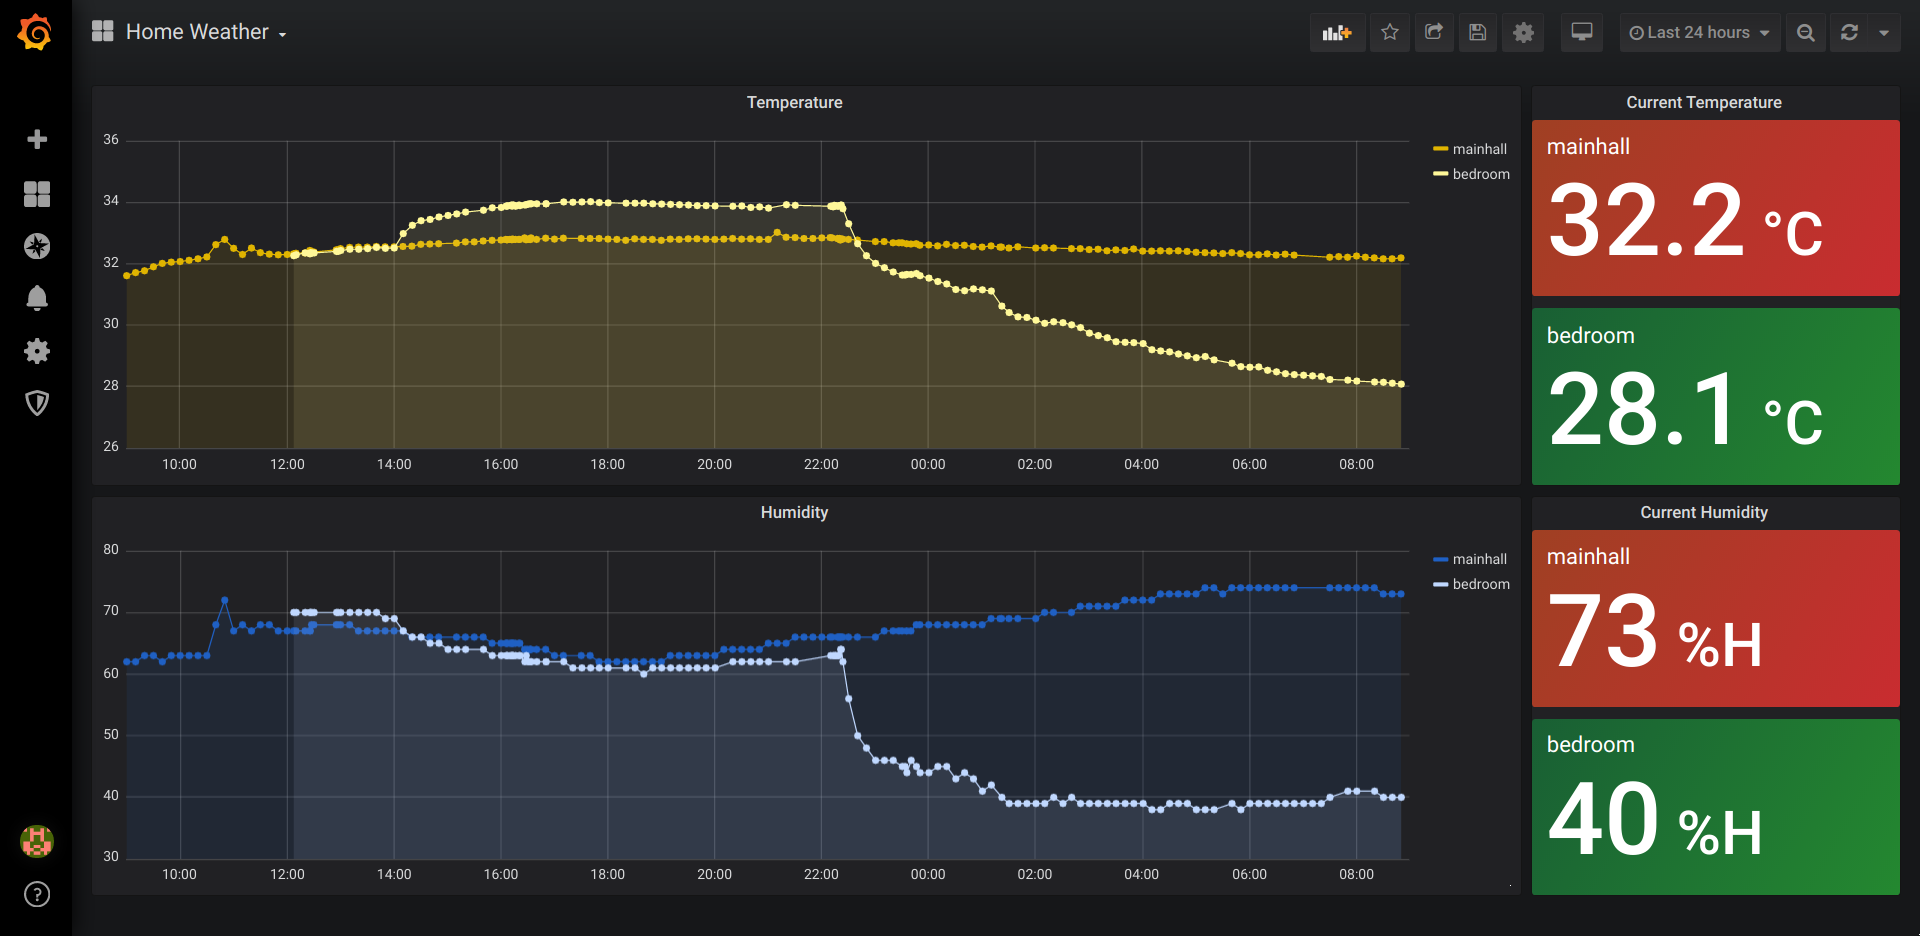
Extra: Quick look at Azure Stream Analytics and Power BI
Additional steps to implement PATH 3: One can simply follow the tutorial – https://docs.microsoft.com/en-us/azure/iot-hub/iot-hub-live-data-visualization-in-power-bi.
Here is my attempt
-
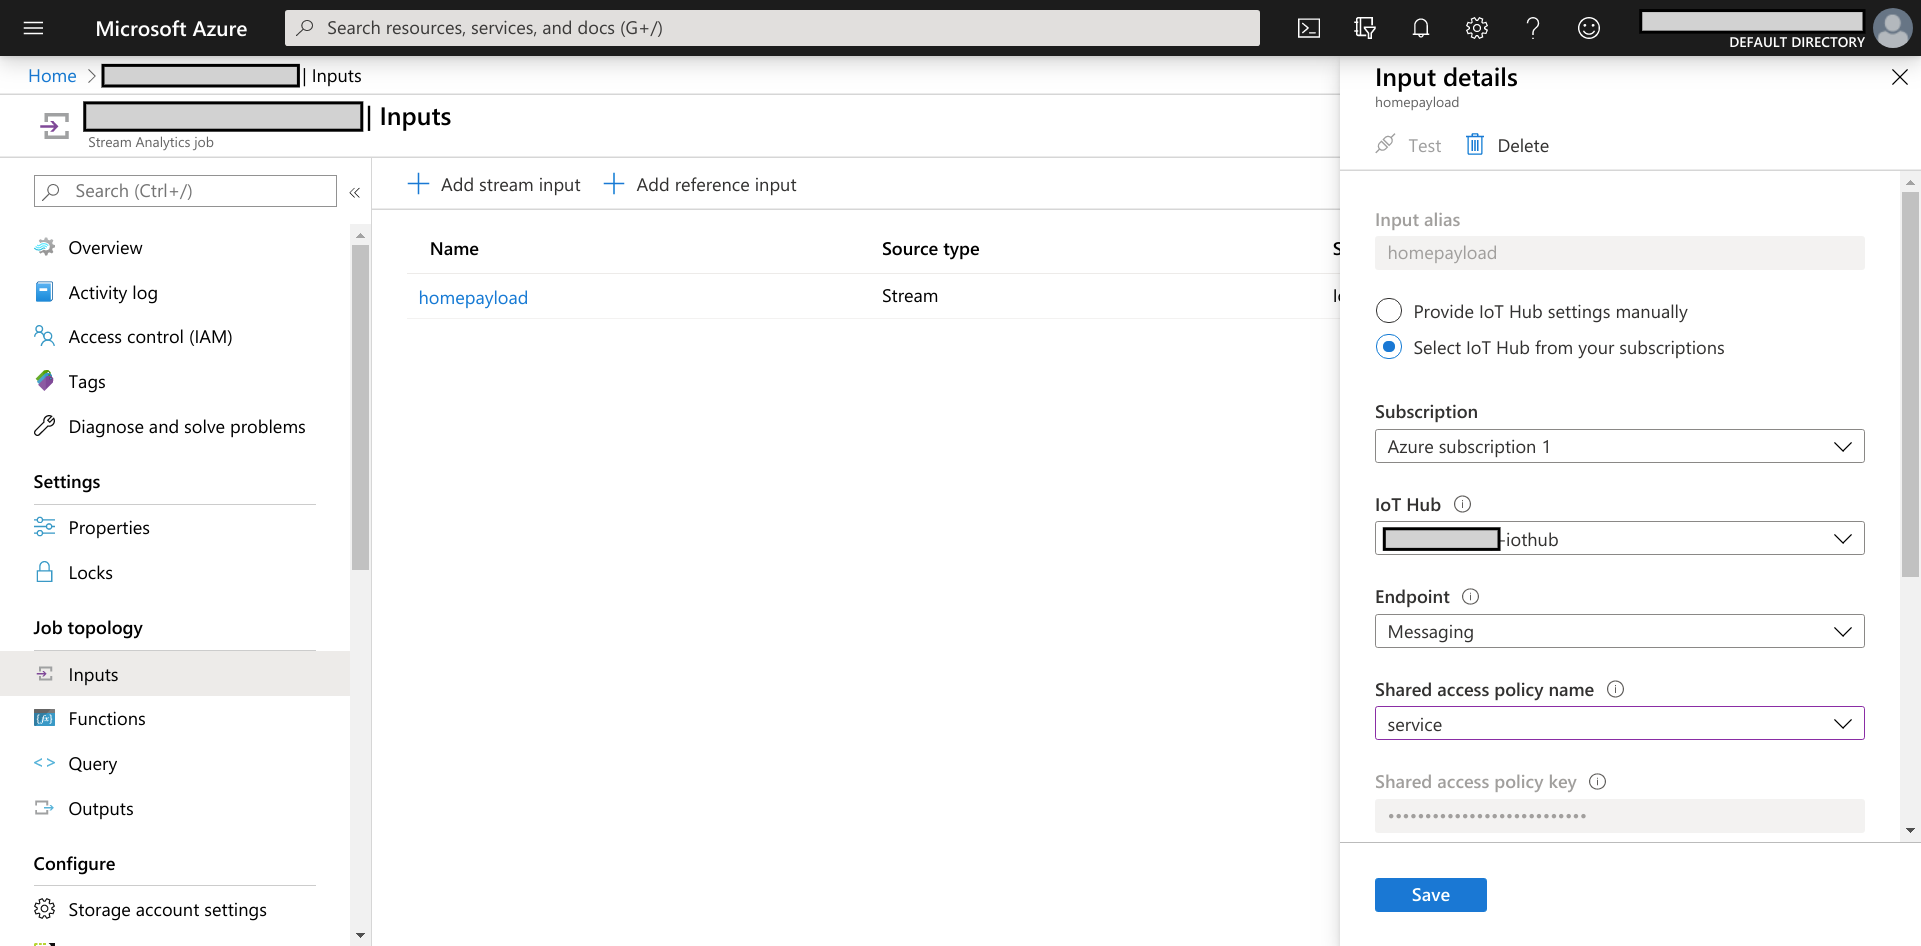
Set Input.
-
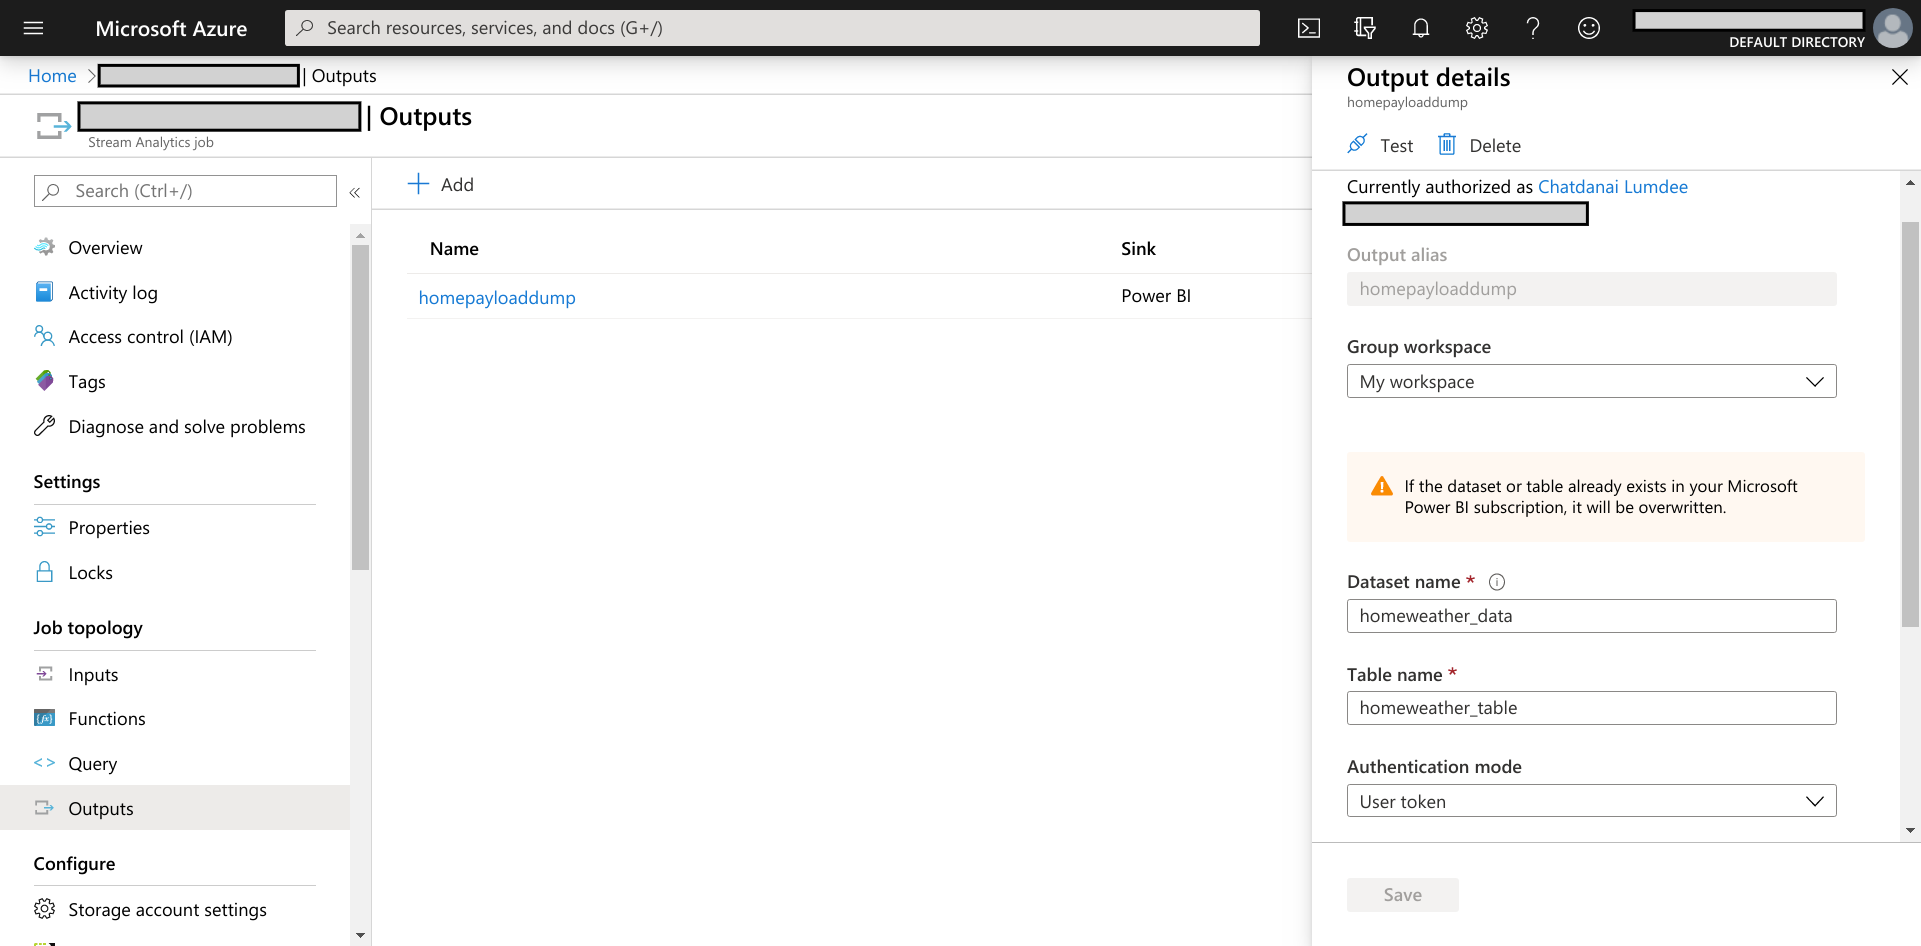
Set output.
-
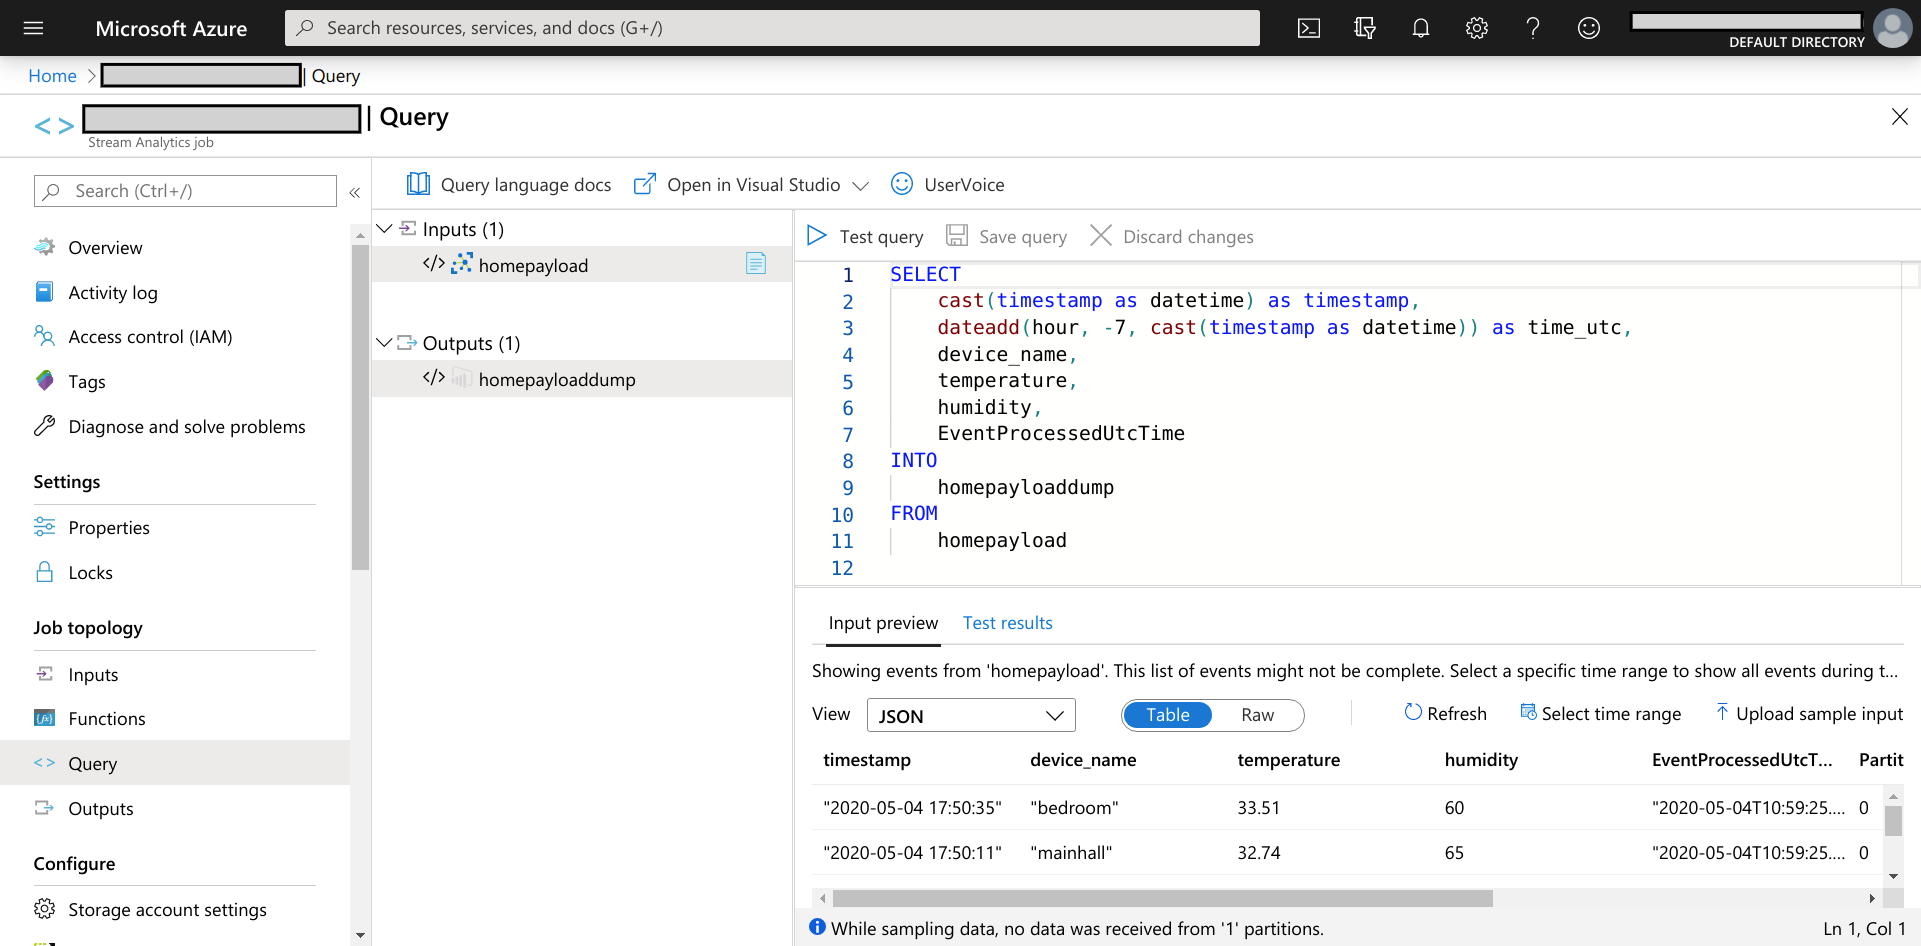
Set query.
-
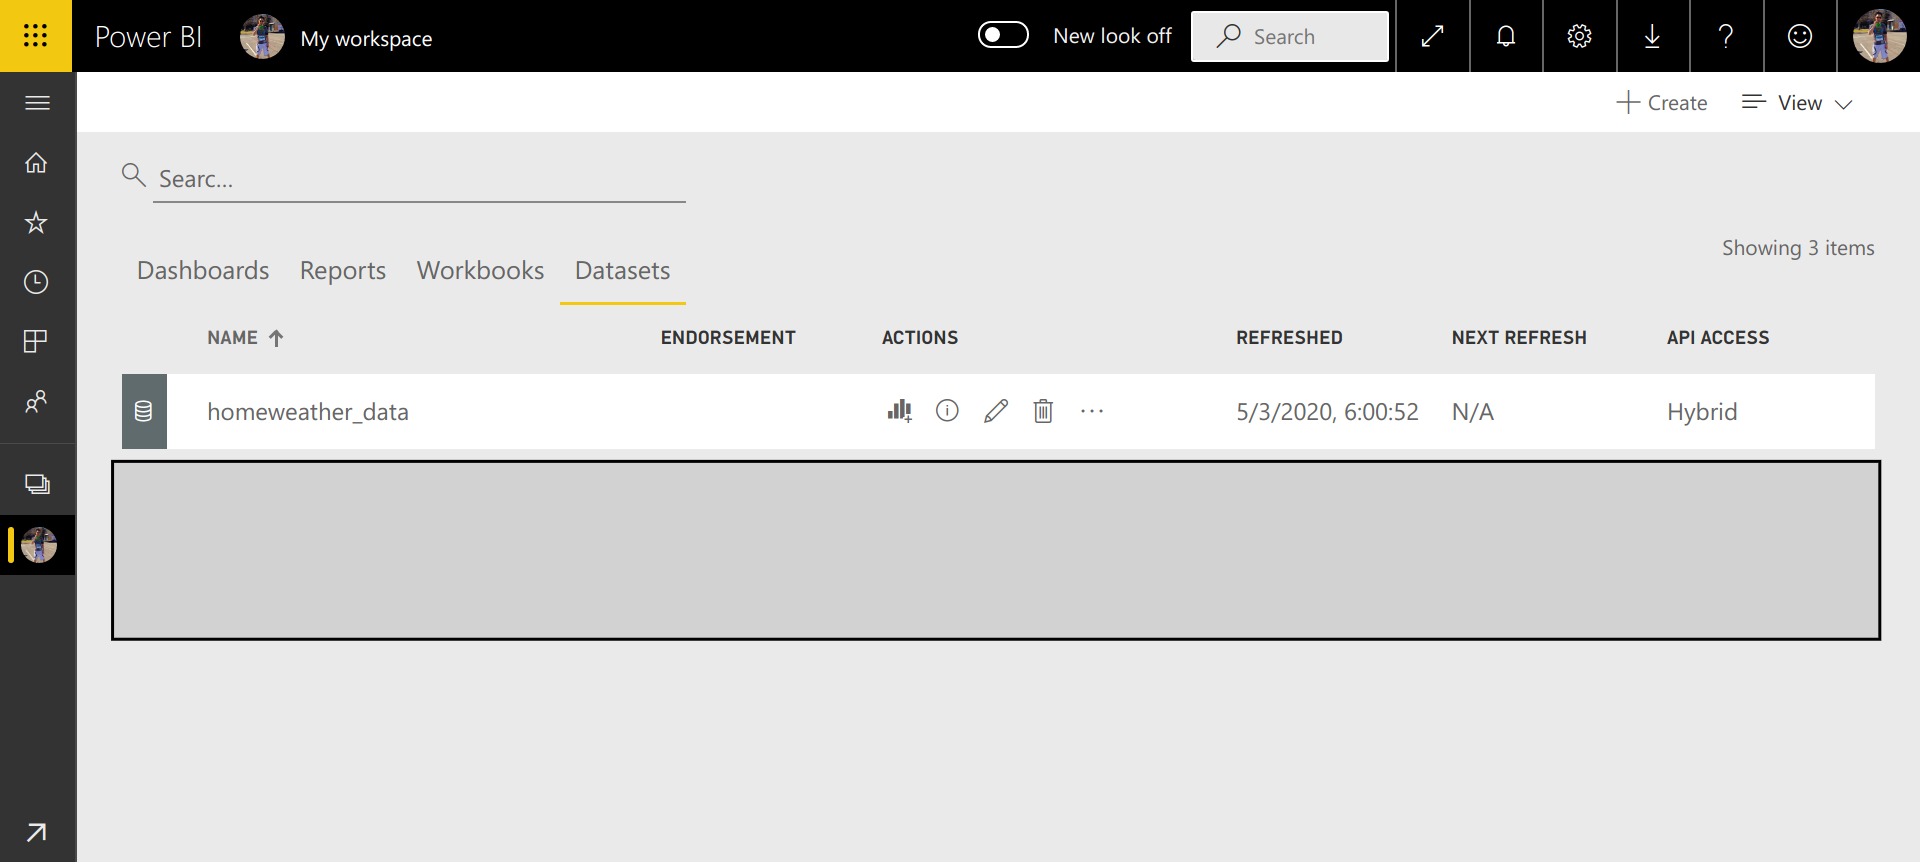
Run the Stream Analytics job and verify data in Power BI.
-
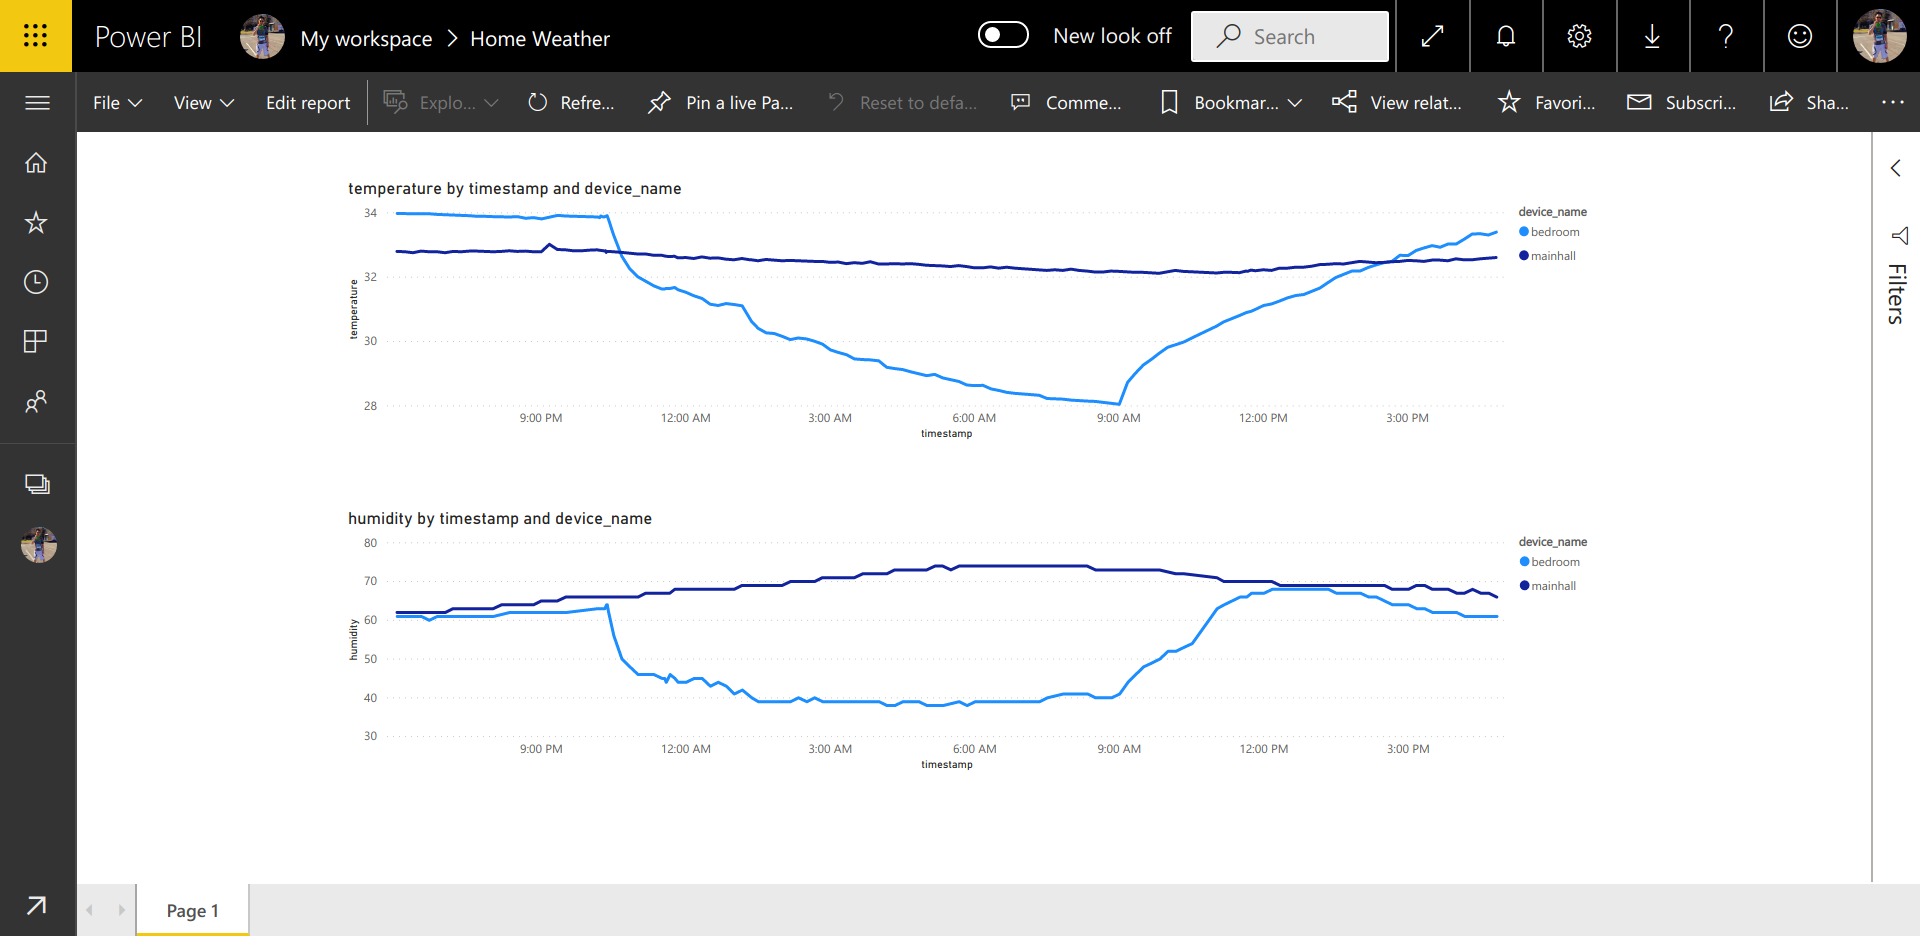
Build your Power BI dashboard.
End
That concludes implementation steps of our project.
I hope you have fun :)